Journal
Preparing The Neck Plank - Day Three
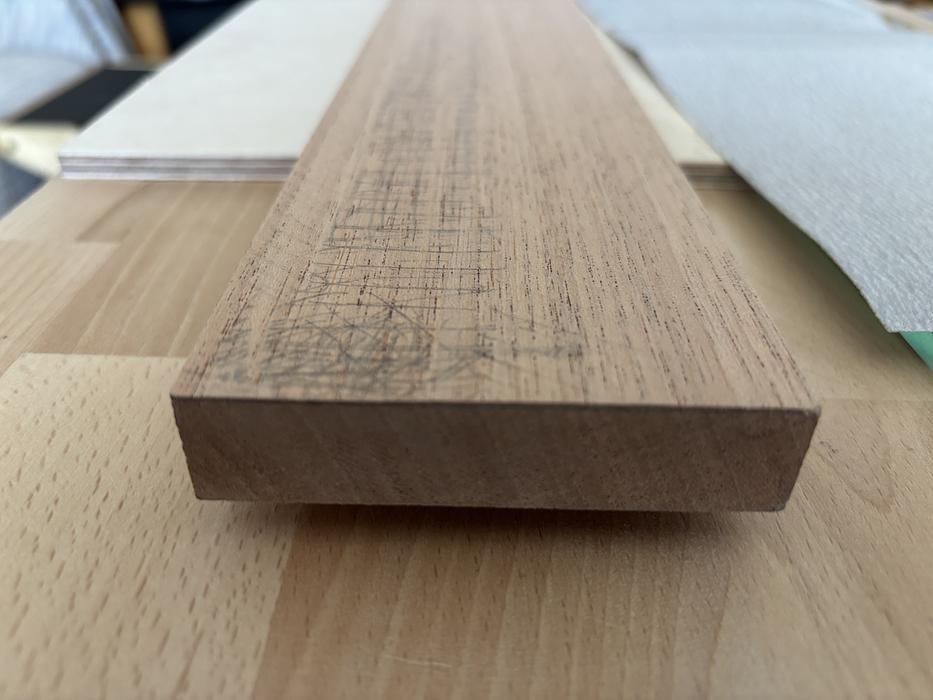
It is sanding time. Now that I removed enough material to get closer to the 18.5mm line, I need to remove the rest by sanding as I don't want to risk cutting too much material and ruining the neck plank.
It is Day 3 of this job and I my goal is to continue with the sanding work on the faces in order to remove the high spots and get them as flat, clean, and parallel as possible.
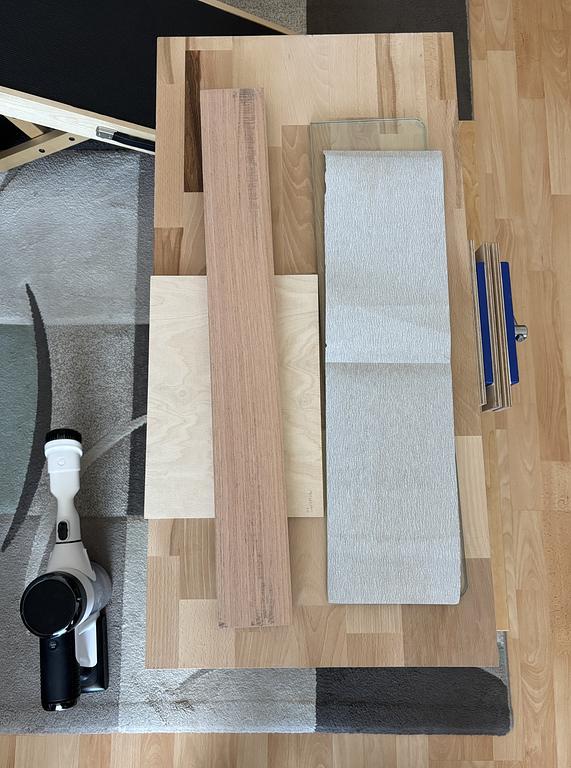
These are the tools I used to get this job done. A thick glass plate, which would give me the reference flat surface to be transferred to the neck, a piece of plywood - A4 size -, sandpaper 120 grit, and one of the most important tools - my portable vacuum cleaner (life saver!)
Here's a short video showing the method I used to do the sanding work by hand:
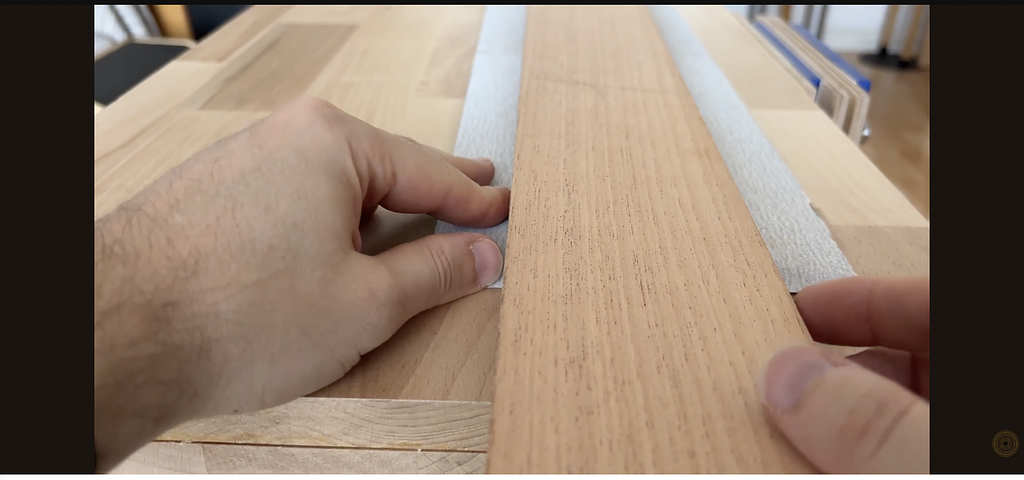 YouTube Video Showing How I did Most of the Sanding - https://youtu.be/w0uZqKD79Eo
After getting very close to measures in between 18.4mm-18.3mm, I switched to sandpaper 180 grit. At this stage, I wanted to start removing small amounts of material from the entire face in a controlled way. For that, I marked the entire face with a pencil and did the sanding until all the pencil marks were gone. Then, I cleaned everything, measured, marked it again, and did another round of sanding. I repeated this process until I've got to approximate 18.2mm on all measurements.
During this process, I had to solve some localised high areas, and for that, I used the plywood sheet to have a wider but smaller surface to work on specific areas of the neck.
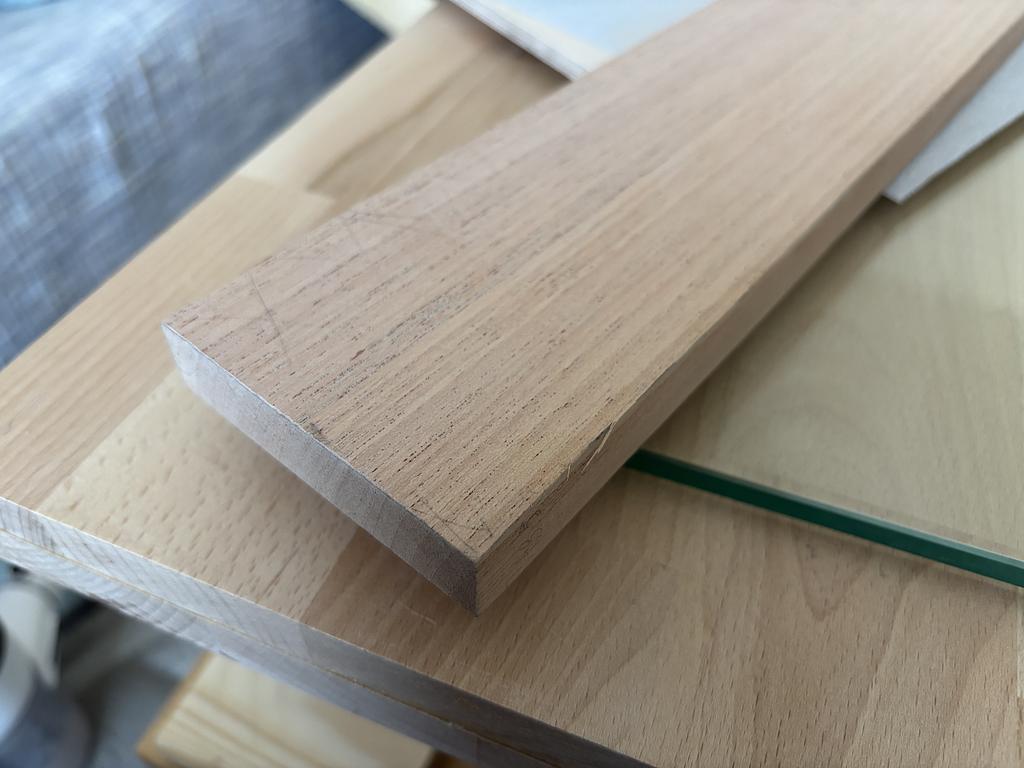
Next, I switched to sandpaper 240 grit - that's the maximum I went as I didn't want to close the grain pores to much with fine dust at this point yet -, and did a few other rounds of sanding, until I've got to 18.00mm-18.1mm on all measures.
During this process I had to solve one issue on the face I chose to be the fingerboard face. Even though it was looking pretty flat already, after sanding and checking, I noticed that the neck was pivoting on the middle, rotating on the table.
I recorded a small video showing the problem. You can watch it here:
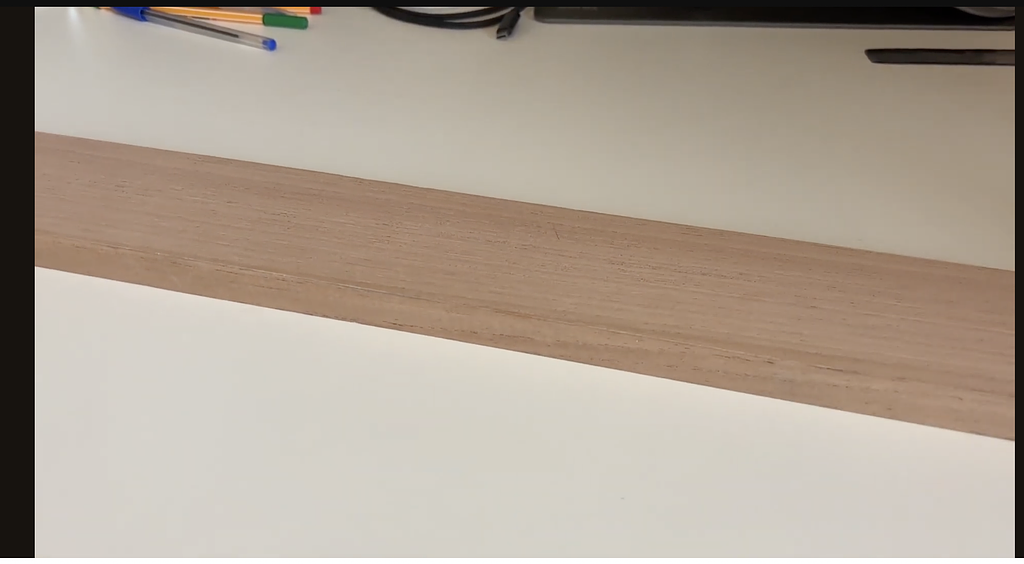 Video showing the neck rotating on the table on a pivot point
Finding the high spot area was not easy on this one as the difference was minimal. One way I've found that worked, was to use the straight edge and rub it against the face. After that, looking at it against a bright source of light allowed me to detect where the high spot area was.
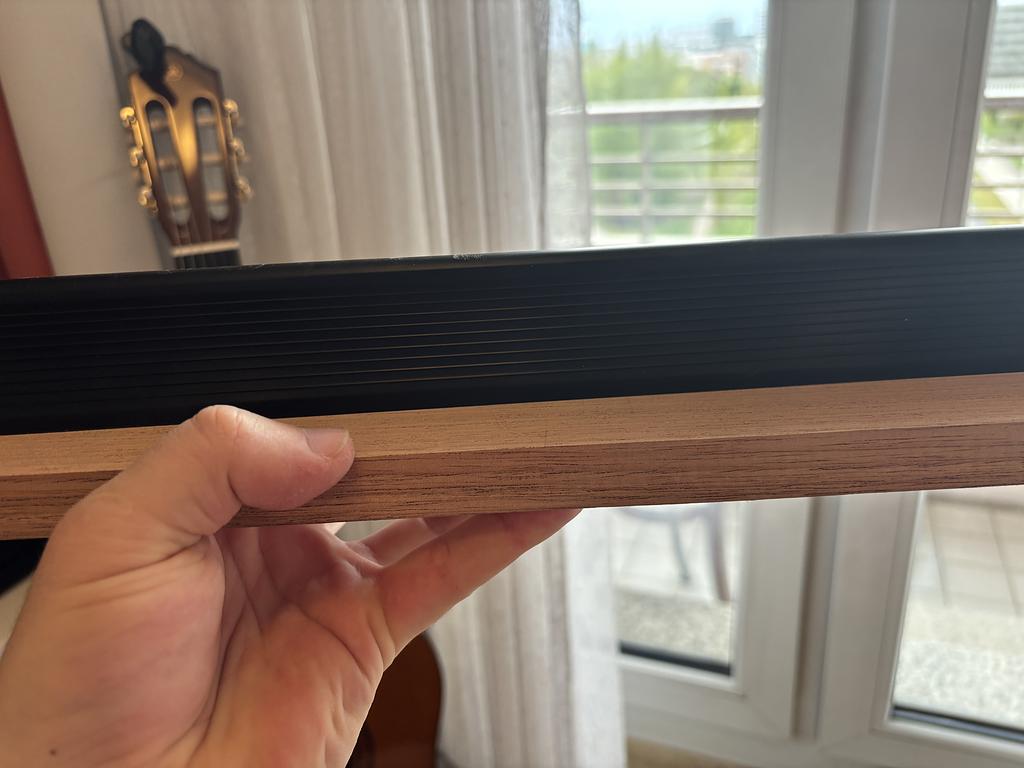
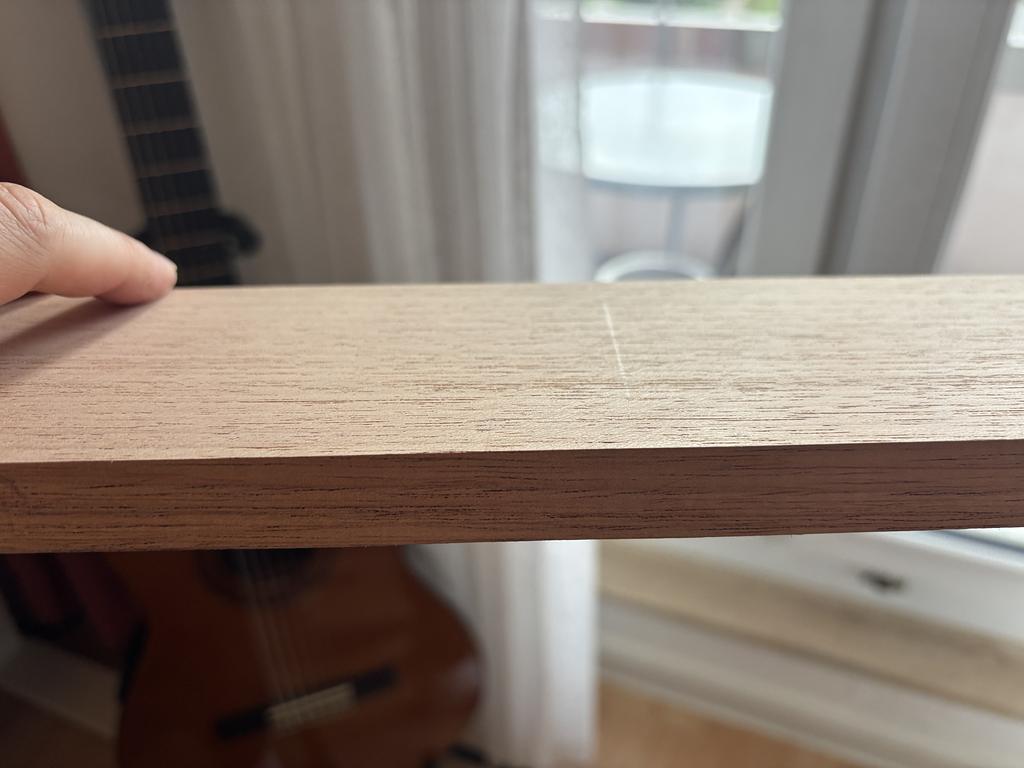
Once the high spot area was finally found, I did first some sanding on that specific area and finished with some sanding across the entire neck's face again, just to normalise any extra irregularities on the face.
With that, I managed to get to a final state of the neck plank where I have now a thickness of 18mm-18.1mm, and both faces are parallel and clean.
I'm ready now to move onto the next job. Ensuring the correct width - 75mm - and that the sides are also parallel - 90deg. angle - and clean.
It is Day 3 of this job and I my goal is to continue with the sanding work on the faces in order to remove the high spots and get them as flat, clean, and parallel as possible.
These are the tools I used to get this job done. A thick glass plate, which would give me the reference flat surface to be transferred to the neck, a piece of plywood - A4 size -, sandpaper 120 grit, and one of the most important tools - my portable vacuum cleaner (life saver!)
Here's a short video showing the method I used to do the sanding work by hand:
YouTube Video Showing How I did Most of the Sanding - https://youtu.be/w0uZqKD79Eo
After getting very close to measures in between 18.4mm-18.3mm, I switched to sandpaper 180 grit. At this stage, I wanted to start removing small amounts of material from the entire face in a controlled way. For that, I marked the entire face with a pencil and did the sanding until all the pencil marks were gone. Then, I cleaned everything, measured, marked it again, and did another round of sanding. I repeated this process until I've got to approximate 18.2mm on all measurements.
During this process, I had to solve some localised high areas, and for that, I used the plywood sheet to have a wider but smaller surface to work on specific areas of the neck.
Next, I switched to sandpaper 240 grit - that's the maximum I went as I didn't want to close the grain pores to much with fine dust at this point yet -, and did a few other rounds of sanding, until I've got to 18.00mm-18.1mm on all measures.
During this process I had to solve one issue on the face I chose to be the fingerboard face. Even though it was looking pretty flat already, after sanding and checking, I noticed that the neck was pivoting on the middle, rotating on the table.
I recorded a small video showing the problem. You can watch it here:
Video showing the neck rotating on the table on a pivot point
Finding the high spot area was not easy on this one as the difference was minimal. One way I've found that worked, was to use the straight edge and rub it against the face. After that, looking at it against a bright source of light allowed me to detect where the high spot area was.
Once the high spot area was finally found, I did first some sanding on that specific area and finished with some sanding across the entire neck's face again, just to normalise any extra irregularities on the face.
With that, I managed to get to a final state of the neck plank where I have now a thickness of 18mm-18.1mm, and both faces are parallel and clean.
I'm ready now to move onto the next job. Ensuring the correct width - 75mm - and that the sides are also parallel - 90deg. angle - and clean.