Journal
Preparing the Neck Plank - Days One and Two
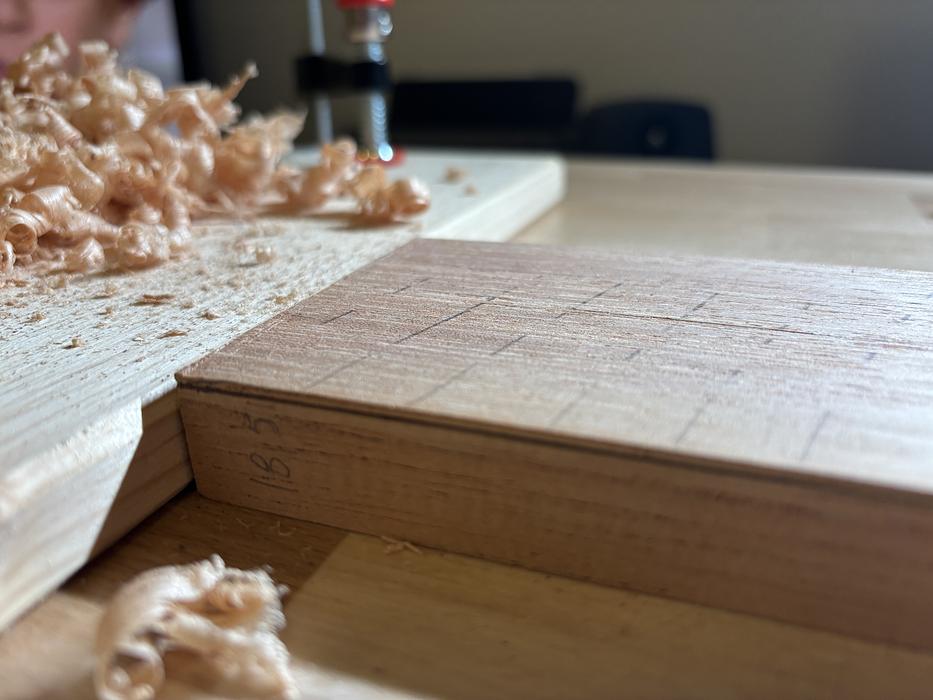
I finally started the actual building of the guitar. The first step, according to the instructions I was given, is to prepare the neck plank, which comes in a certain format from the factory and needs some work to get to the shape we need to.
To make my life easier, I ordered the neck planks from the factory already calibrated and dry. It comes in a 20mm thickness, and with faces that are pretty flat already. For my build, I chose Brazilian Cedar for the neck.
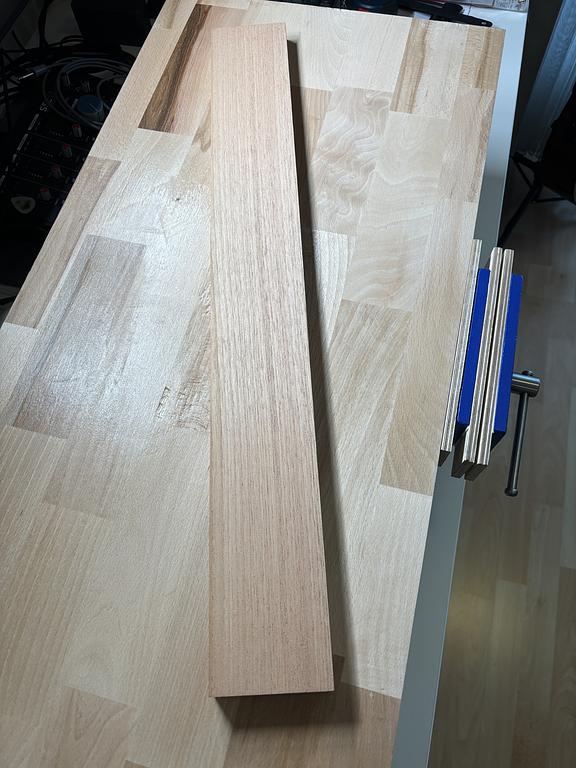
Here's how they look when they came from the factory:
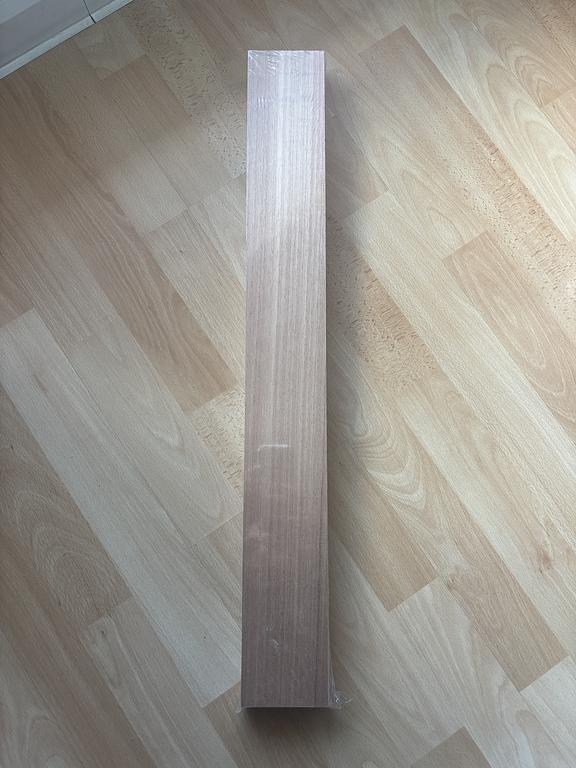
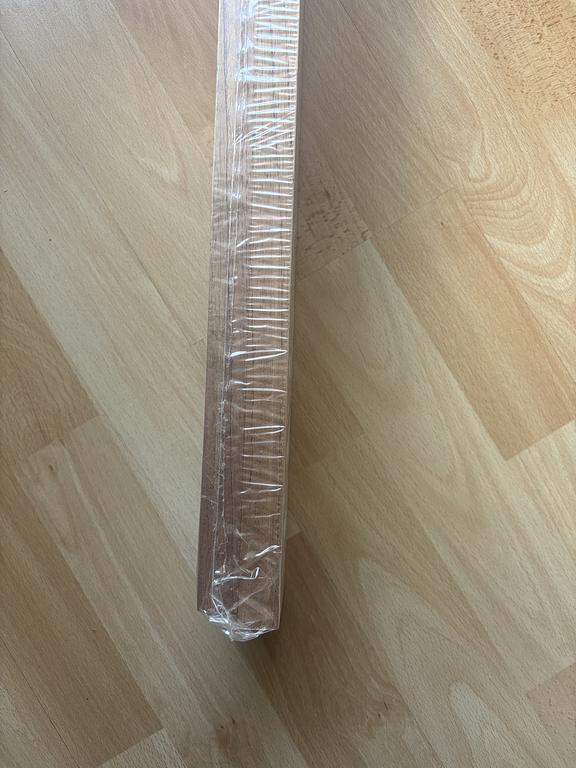
I've got two planks in the set. One was weighing 500g and the other 485g. As I was taught, you want to choose the one that is more dense (heavier), as it will have better sound qualities. However, in my case the heavier one had a feature that I was not sure if it would cause me trouble down the road.
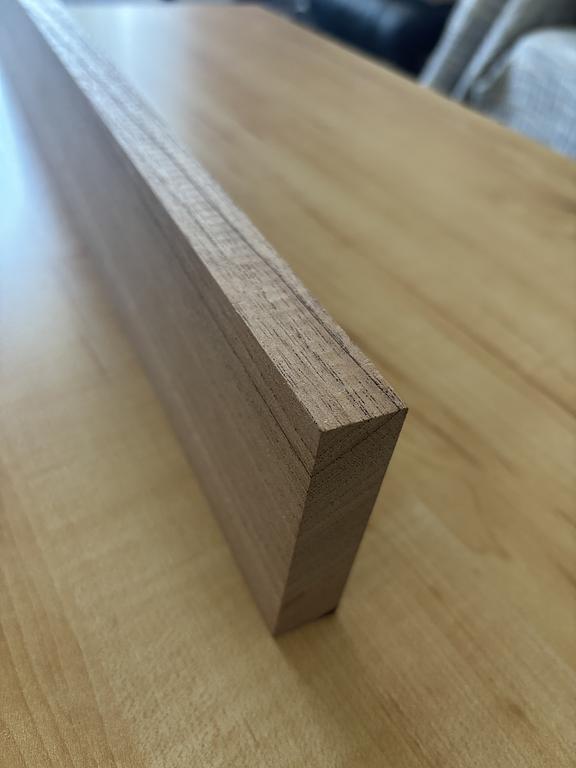
At first I thought it was broken, but as fast as I can tell, it seems to be a grain feature and I was afraid that this part would break during the fabrication of guitar, therefore, I went with the less dense neck which was 15g less heavy than this one above. After choosing the neck plank, I checked the faces to chose which one I'd chose to be the front-face. As mentioned before, both faces were pretty flat. I chose one that felt just a little git more flat than the other. But any face would be acceptable I believe.
Day 1
Next, I draw with a marking gauge the 18.5mm line on the sides of the neck. The goal is to get to an 18mm thick by 75mm wide neck plank. The 18.5mm is the first milestone to achieve and also a safety line. That extra .5mm would then be worked carefully to get to an 18mm size with a completely flat face on both sides.
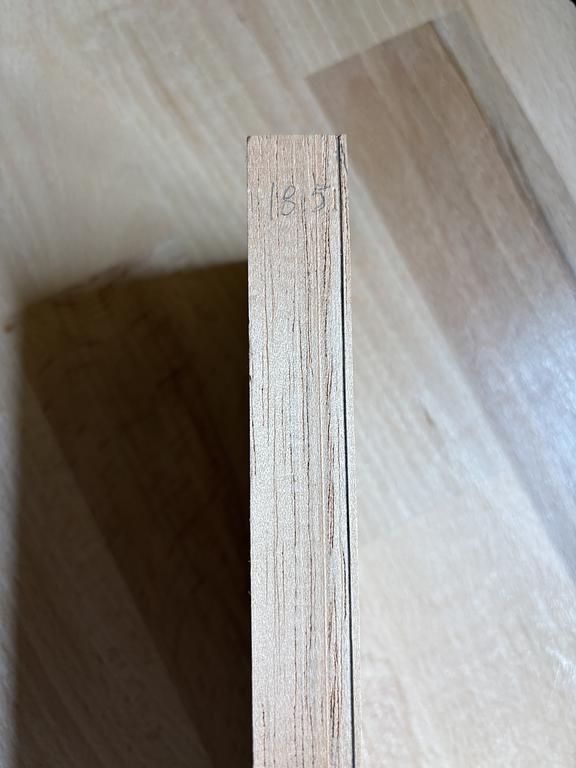 neck plank with the 18.5 safety line marked on all sides
To do this job, I used first a block plane, to remove a good amount of material before I went into the sanding process.
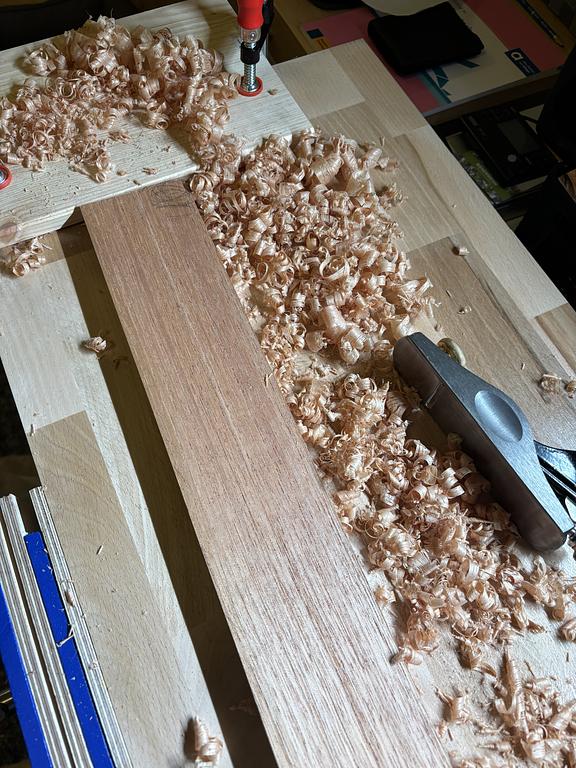
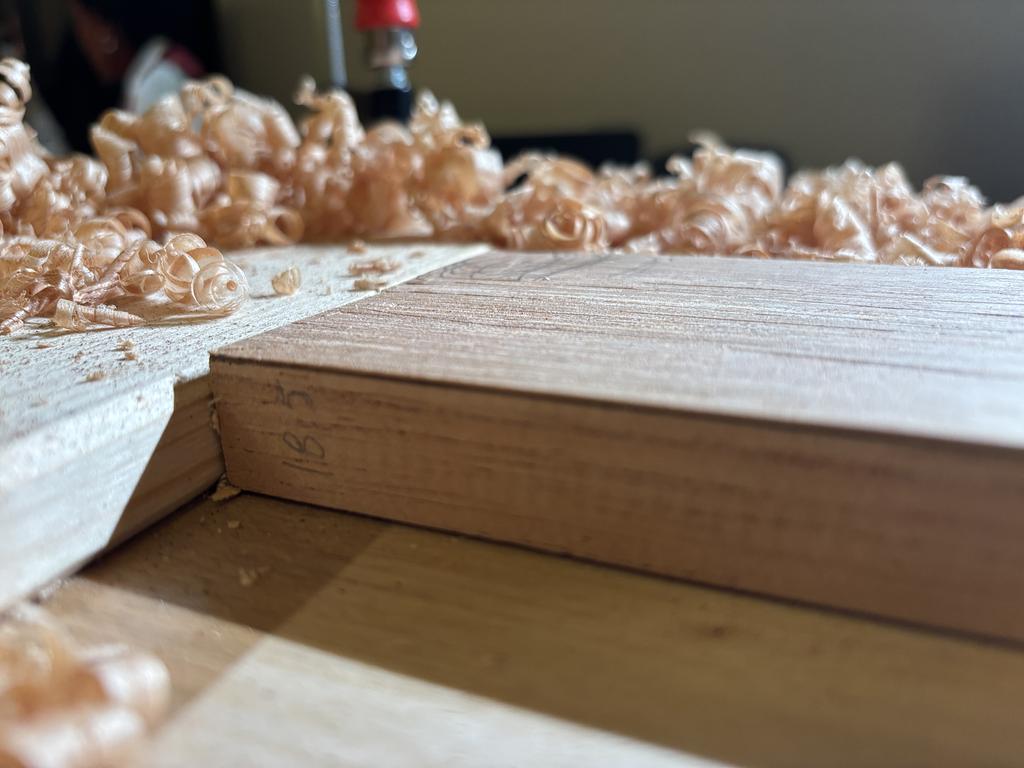
An aside about the shavings and dust. I think they were manageable. I stopped a few times to collect them and not leave too much over the table, this way the work felt ok all the time. I'd say that was not a problem for the workbench or for doing that inside my living room.
After getting closer to the line, I stopped removing material with the plane and waited until the next day to start the sanding work.
Day 2
This day I started with the sanding work. The goal is now to get to the 18mm thickness with two completely flat faces. As I don't have a drum sander or any kind of powered sander, I will take my time to do this job properly as I see it like salting food, you can add more, but once you passed the limit you cannot remove it. With this job it is the same idea, I can slowly remove material in a controlled way, but If I am too anxious and to the job carelessly, I may end up with a neck plank that won't be good. So, patience here is the key.
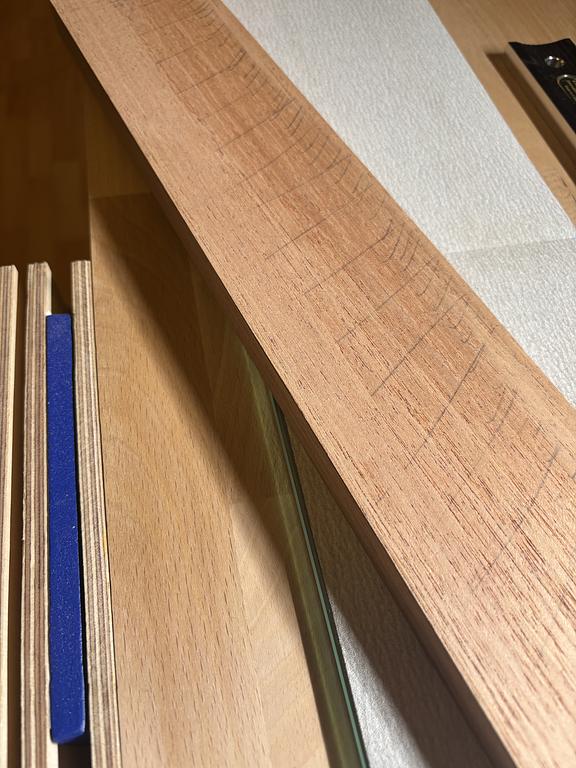
Here's how this work day has ended:
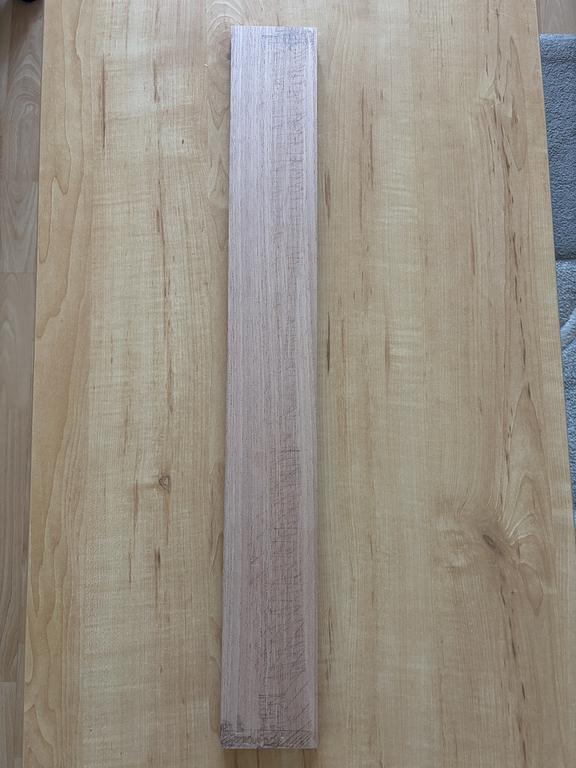
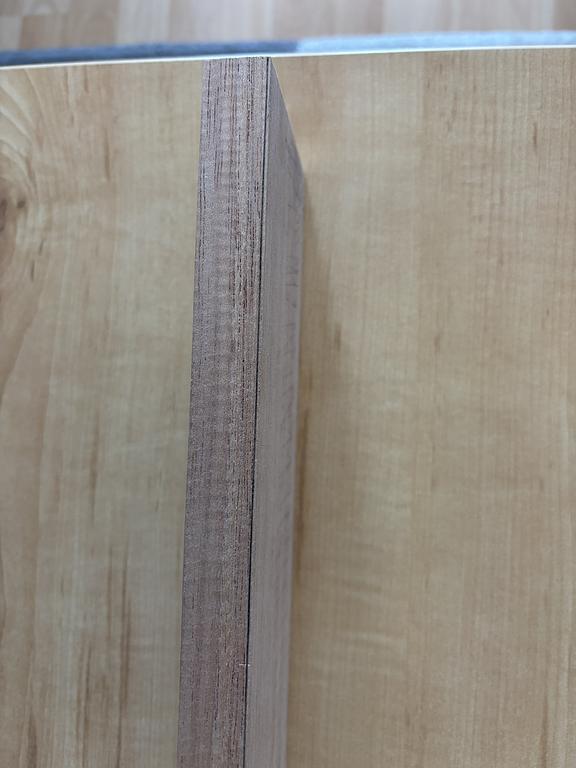
Now, I'll continue the work on the neck until I get the correct thickness of 18mm and the two flat faces.
To make my life easier, I ordered the neck planks from the factory already calibrated and dry. It comes in a 20mm thickness, and with faces that are pretty flat already. For my build, I chose Brazilian Cedar for the neck.
Here's how they look when they came from the factory:
I've got two planks in the set. One was weighing 500g and the other 485g. As I was taught, you want to choose the one that is more dense (heavier), as it will have better sound qualities. However, in my case the heavier one had a feature that I was not sure if it would cause me trouble down the road.
At first I thought it was broken, but as fast as I can tell, it seems to be a grain feature and I was afraid that this part would break during the fabrication of guitar, therefore, I went with the less dense neck which was 15g less heavy than this one above. After choosing the neck plank, I checked the faces to chose which one I'd chose to be the front-face. As mentioned before, both faces were pretty flat. I chose one that felt just a little git more flat than the other. But any face would be acceptable I believe.
Day 1
Next, I draw with a marking gauge the 18.5mm line on the sides of the neck. The goal is to get to an 18mm thick by 75mm wide neck plank. The 18.5mm is the first milestone to achieve and also a safety line. That extra .5mm would then be worked carefully to get to an 18mm size with a completely flat face on both sides.
neck plank with the 18.5 safety line marked on all sides
To do this job, I used first a block plane, to remove a good amount of material before I went into the sanding process.
An aside about the shavings and dust. I think they were manageable. I stopped a few times to collect them and not leave too much over the table, this way the work felt ok all the time. I'd say that was not a problem for the workbench or for doing that inside my living room.
After getting closer to the line, I stopped removing material with the plane and waited until the next day to start the sanding work.
Day 2
This day I started with the sanding work. The goal is now to get to the 18mm thickness with two completely flat faces. As I don't have a drum sander or any kind of powered sander, I will take my time to do this job properly as I see it like salting food, you can add more, but once you passed the limit you cannot remove it. With this job it is the same idea, I can slowly remove material in a controlled way, but If I am too anxious and to the job carelessly, I may end up with a neck plank that won't be good. So, patience here is the key.
Here's how this work day has ended:
Now, I'll continue the work on the neck until I get the correct thickness of 18mm and the two flat faces.