Journal
Preparing The Neck - Day Five - Cutting The Scarf Head Join
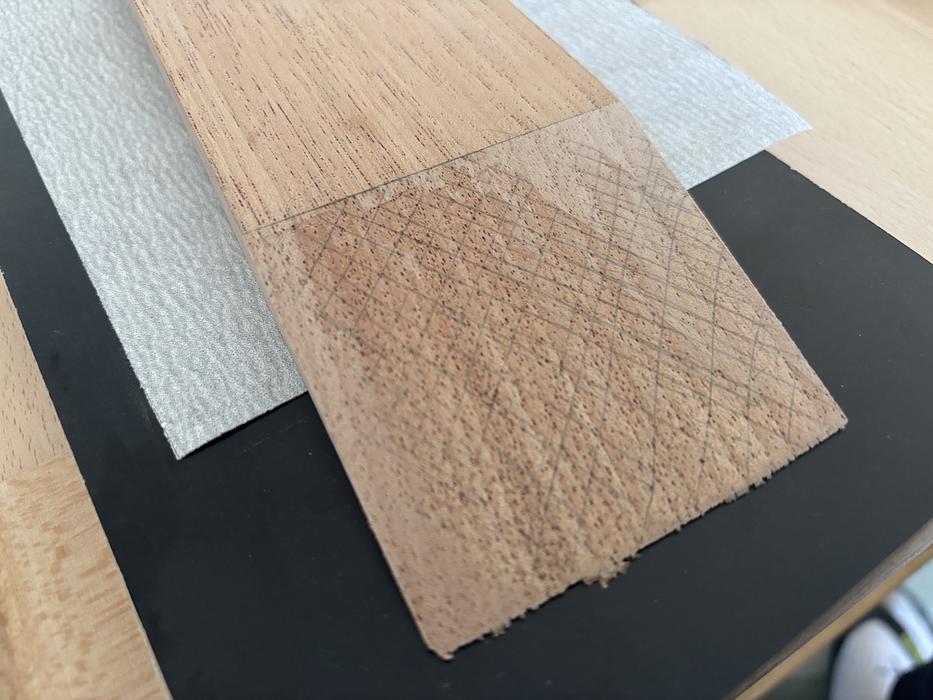
With the neck plank correctly sized and clean, not it is time to cut the scarf head join. I thought about how to do this job without a band saw to saw it straight and with the correct angle.
I decided to create a jig with the proper angle to help me hand cut the join with my Japanese saw.
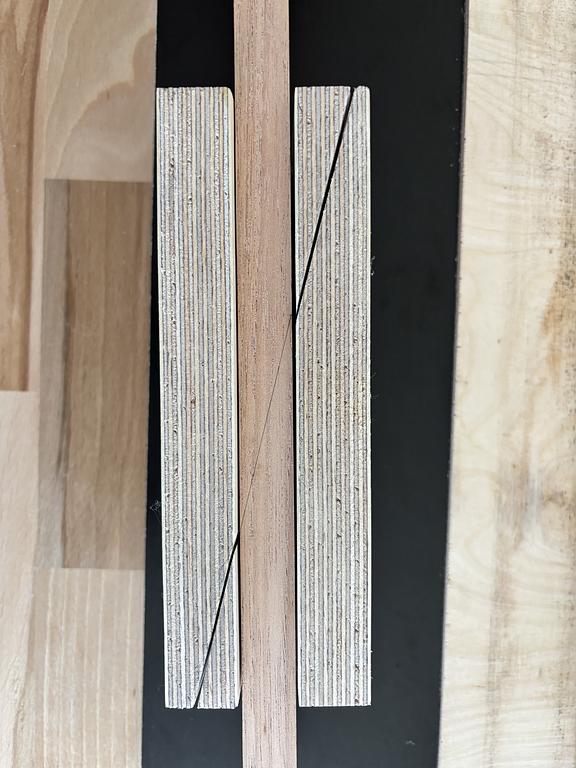
As you can see on the image above, the base of the jig was not very square and a bit wider than needed. In the end, there were some gaps around the neck that made the fit to not be perfect.
I used some paper to fix the neck properly and void movement. With that in place, I started the sawing process as you can see on the video below.
The end result was not exactly what I was expecting. The beginning of the cut went well very well as you can see below:
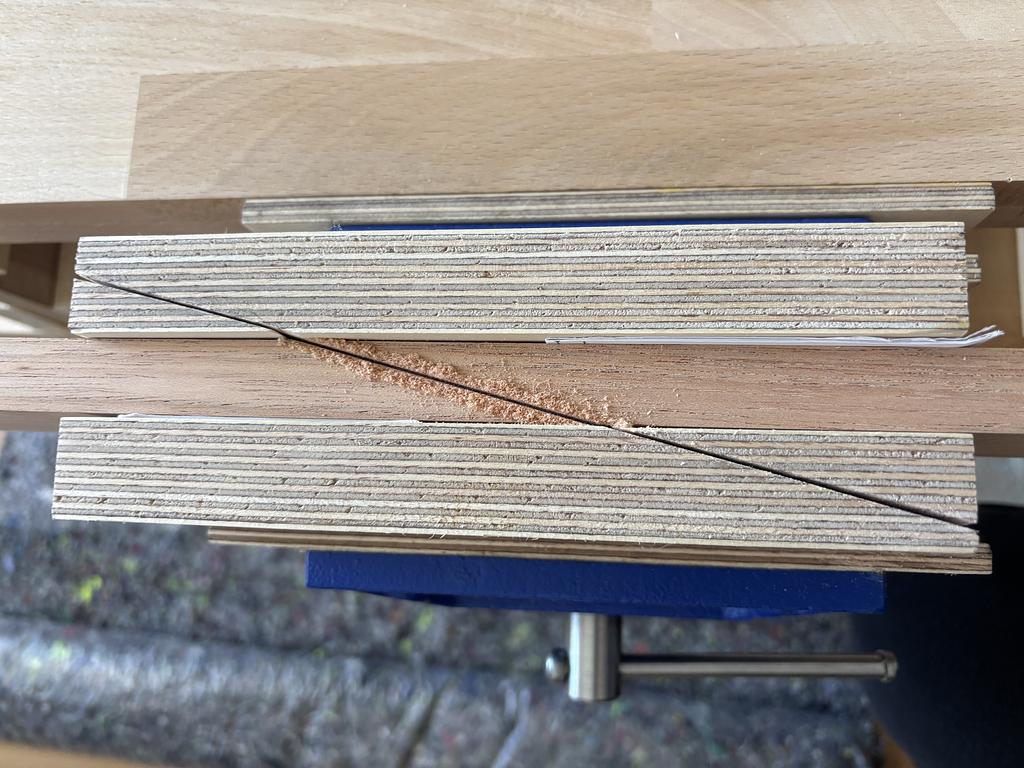
However, from the middle onwards, the cut was not straight. This made almost half of the cut to be higher and a bit skewed.
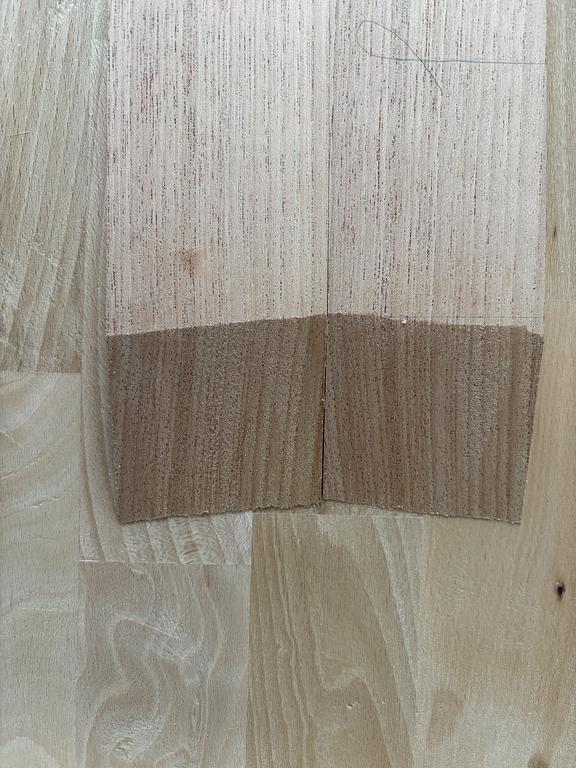
The moment I saw that I was a bit afraid I had ruined the piece.
But then I thought a bit on how to solve that based on the instructions that I received from my training, reaching a plan on how to solve it. I decided to use a mini hand plane to get more or less to the right cut and angle.
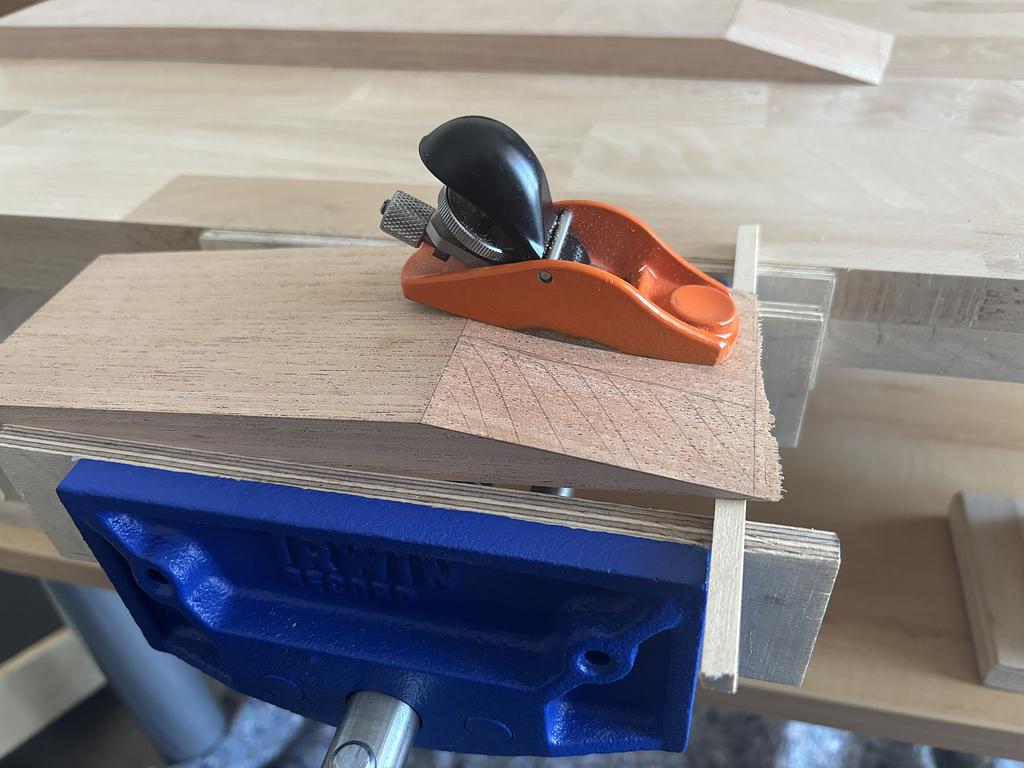
Here's an image of the cut in the right size and angle.
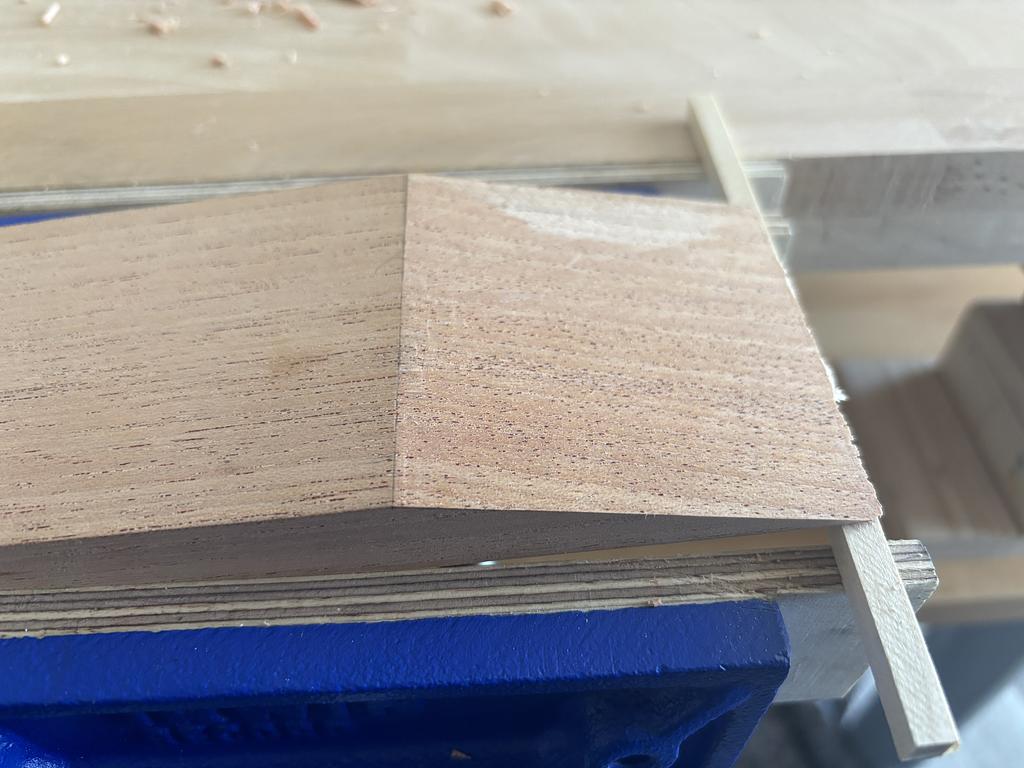
The important metric to check here on this task is that upper line, where we have the break angle, is square, and that the bottom part is also square. When those two are, we know that the size is correct.
Now, it was time to do the final adjustment by sanding so that I could reach the final clean and flat surface on the cut in a controlled way. You can see on the image below that with sanding, first the high spots are eliminated, once all the pencil marks were clean, than I knew that the surface was flat. I used an MDF sanding block to do this job and 120 grit sandpaper.
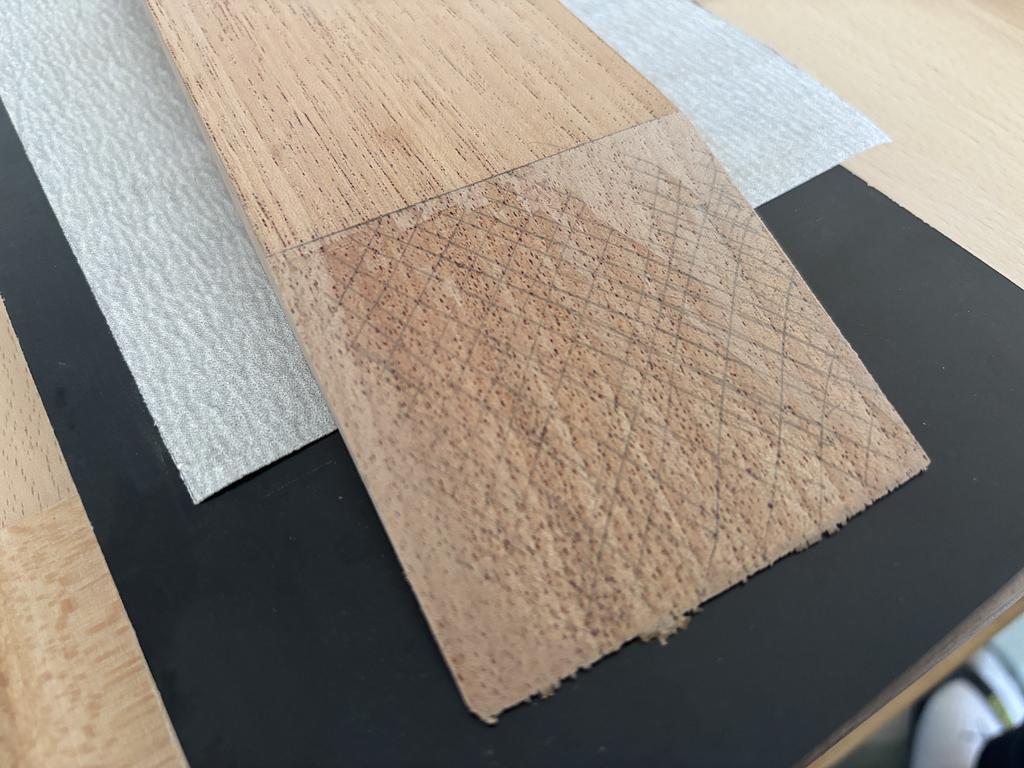
And after some careful work, here's the final result.
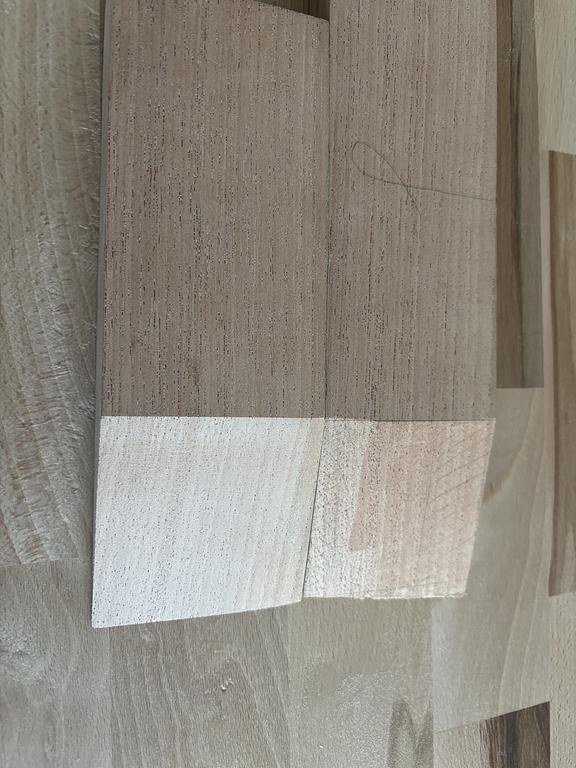
Note how much cleaner the face is in comparison with the other part of the cut which was not worked. That other part did not needed and work for now. Only after gluing the two parts that the other face will be worked on to get a flat and clean headstock surface. And here is the two parts together, as they will look like after they are glued together.
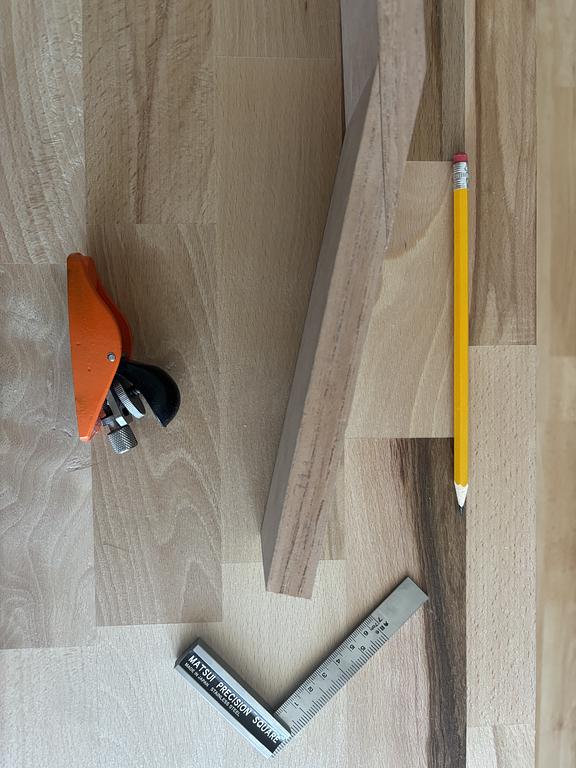
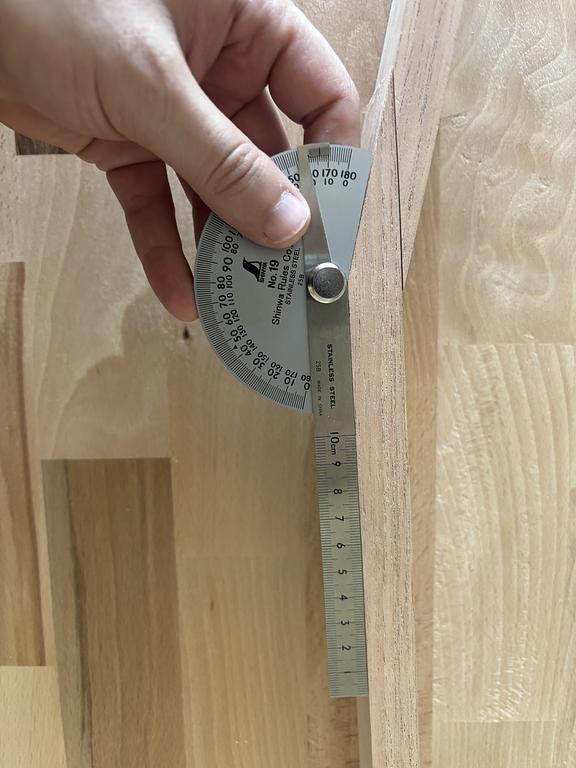
Now, after all that, the desired 14 degrees angle between the neck and the head should still be there. Here's an image showing that the angle is correct after all the adjustments.
And that concluded this task. Next task will be to glue the two parts together.
I decided to create a jig with the proper angle to help me hand cut the join with my Japanese saw.
As you can see on the image above, the base of the jig was not very square and a bit wider than needed. In the end, there were some gaps around the neck that made the fit to not be perfect.
I used some paper to fix the neck properly and void movement. With that in place, I started the sawing process as you can see on the video below.
The end result was not exactly what I was expecting. The beginning of the cut went well very well as you can see below:
However, from the middle onwards, the cut was not straight. This made almost half of the cut to be higher and a bit skewed.
The moment I saw that I was a bit afraid I had ruined the piece.
But then I thought a bit on how to solve that based on the instructions that I received from my training, reaching a plan on how to solve it. I decided to use a mini hand plane to get more or less to the right cut and angle.
Here's an image of the cut in the right size and angle.
The important metric to check here on this task is that upper line, where we have the break angle, is square, and that the bottom part is also square. When those two are, we know that the size is correct.
Now, it was time to do the final adjustment by sanding so that I could reach the final clean and flat surface on the cut in a controlled way. You can see on the image below that with sanding, first the high spots are eliminated, once all the pencil marks were clean, than I knew that the surface was flat. I used an MDF sanding block to do this job and 120 grit sandpaper.
And after some careful work, here's the final result.
Note how much cleaner the face is in comparison with the other part of the cut which was not worked. That other part did not needed and work for now. Only after gluing the two parts that the other face will be worked on to get a flat and clean headstock surface. And here is the two parts together, as they will look like after they are glued together.
Now, after all that, the desired 14 degrees angle between the neck and the head should still be there. Here's an image showing that the angle is correct after all the adjustments.
And that concluded this task. Next task will be to glue the two parts together.