Journal
Challenge No. 1 - Where and How to Work?
Building a classical guitar was never going to be simple, but I didn’t expect the first challenge to be figuring out where to build it.
At the beginning, I considered renting a workshop. It would give me more space and save me from worrying about dust and noise. But finding an affordable space, even a temporary one I could use a few days a week, turned out to be far more difficult than I’d imagined.
So I made a slightly unconventional decision: I’d build the guitar at home. Yes, call me crazy. But if José Romanillos built his first guitar on a kitchen table, I figured I could manage the same.
That left me with a new problem to solve: How to turn my living space into a functional workshop. I needed storage, a proper work surface, and a way to deal with dust and noise without driving myself (or anyone else) insane.
The Noise Problem
To deal with noise, I decided early on to rely as much as possible on hand tools and avoid power tools whenever I could. So far, that approach has worked about as well as I had hoped.
I’m also trying to be considerate with timing. I limit noisier work to hours when people are generally more active, for example, avoiding anything loud after 6pm on weekdays. During quieter hours, I switch to planning, light tasks, or anything that stays around normal conversation or TV volume (roughly 60–70 dB).
Of course, some noise is unavoidable. Even hand sawing can get surprisingly loud depending on the type of wood. I’ve found that using a Japanese saw - specifically a Ryoba style saw - keeps things at a reasonable level while still being effective. It does require patience, especially for longer cuts, but that’s fine. I’m not in a rush with this project.
Drilling has also been manageable. I use a cordless drill that isn’t too loud, and so far it’s been doing the job without any issues.
The Dust Problem
This one took a bit more time to figure out. I didn’t want to rely on a noisy vacuum cleaner or install any kind of dust collection system in my living room, no way.
Instead, I went for a simpler solution. I bought a rollable floor protector that I can easily lay down while working and store away afterward. It catches most of the dust that would otherwise end up all over the floor.
For cleaning, I use a lightweight vacuum (the broom-style kind), which works well for both surfaces and floors. It’s much quieter than a traditional vacuum cleaner, so the noise stays at an acceptable level. I just have to clean a bit more frequently to keep everything tidy. The different attachments also make it easy to deal with various surfaces.
The real challenge, though, is airborne dust.
After some research, I settled on a two-part solution. First, I wear an FFP3 mask when doing tasks like sawing that generate fine dust. Second, I use an air purifier with a true HEPA filter and enough capacity to cycle the air in the room every few minutes, without creating too much noise.
So far, this approach has worked well. I’m not seeing dust settling on higher surfaces, and the air feels noticeably cleaner. More importantly, it gives me some peace of mind about not constantly breathing in fine particles.
Finally, when a particular cut would create too much dust or hassle, I try to work around it. That might mean adjusting the design to use pre-cut materials from a hardware store or ordering custom cuts online. I’ve already done this for parts of my workbench and shooting board. More on that later.
The Storage Problem
This one has been a tougher nut to crack.
This one has been a tougher nut to crack.
I live in a small space, and most of the available storage is already taken up by everyday items and appliances. Still, I needed to find room for tools, materials, and most importantly, wood.
So far, I’ve had to get creative. I’m using small, often overlooked spaces, like behind doors or on top of wardrobes—to store wood. For tools, I picked up a few compact storage boxes that fit easily into unused cupboard space.
I’m now considering adding an IKEA Kallax unit to organize things a bit more properly. It should help keep everything accessible without making the space feel cluttered.
That balance is important to me. I don’t want to turn my living room into a full-time workshop. I just want to be able to work there when needed, while still keeping the look and feel of a living space.
I’ll share some photos once everything is set up.
The Workbench Problem
I don’t have the space for a permanent workbench, and I didn’t want to use my kitchen or computer table. So I had to get creative.
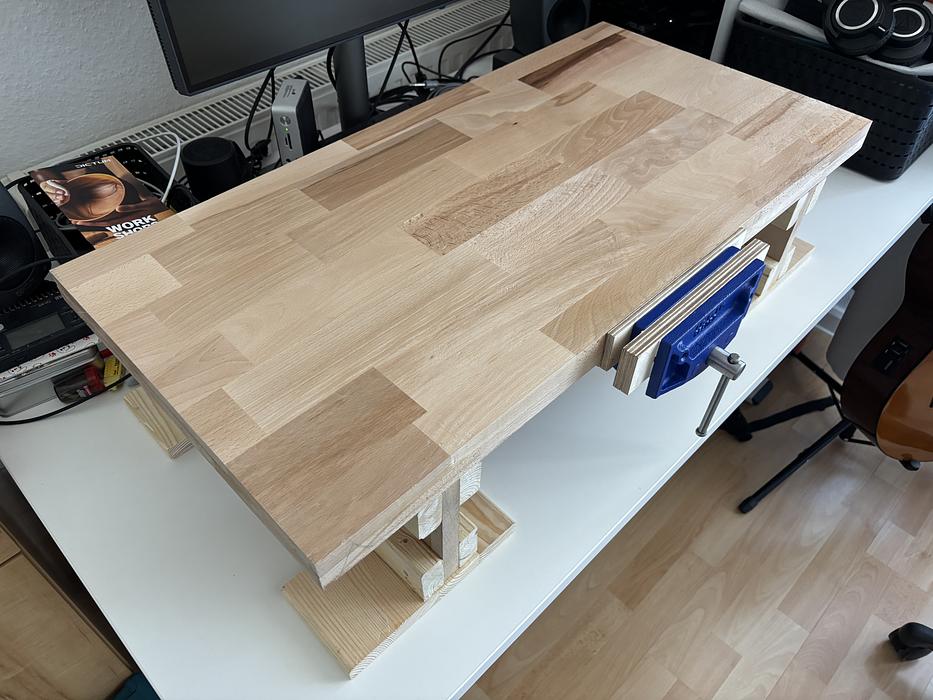
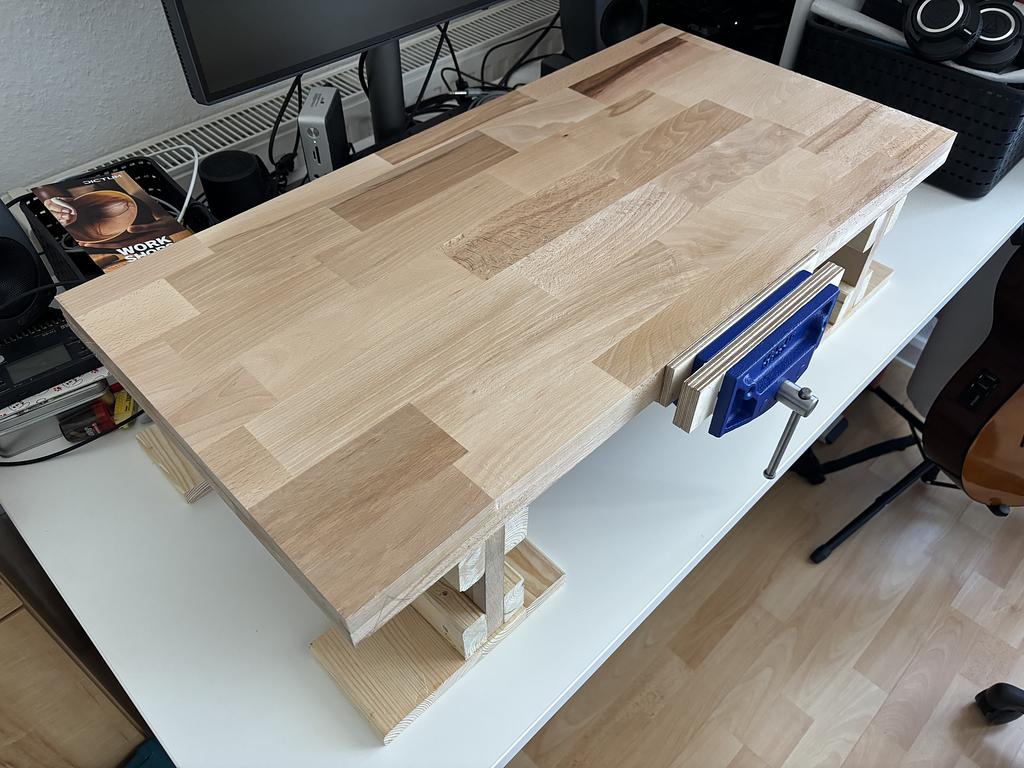
My solution was to build a small, mobile workbench that I can easily stow away when not in use. The goal was to keep it compact without sacrificing functionality, and I think I managed to strike that balance.
It even has a proper woodworking vise, which I’m particularly happy about. I’ll share more details about the build soon, but for now, here’s how it looks:
Conclusion
So far, the project feels manageable, and I’m confident it’s possible to carry it through, even within the constraints of a small living space.
There are still challenges ahead, and I’m sure I’ll need to keep adapting as I go. But for now, the setup is working, and that’s a great place to be.
Let’s see what the next chapters bring.