Journal
Building A Portable Workbench for Woodworking Including A Vise
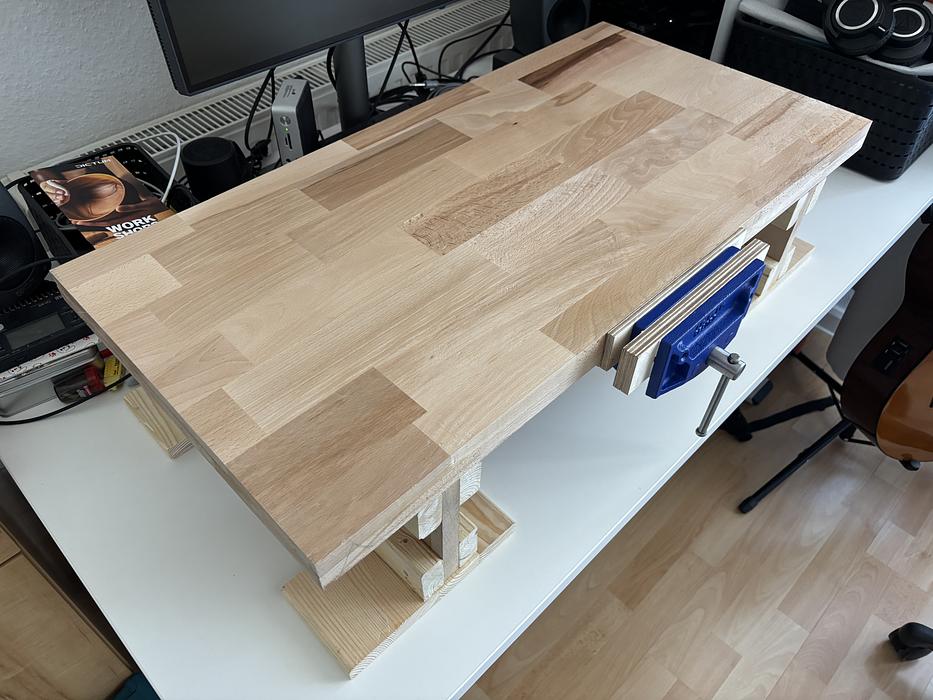
One interesting aspect of making your own guitar is that is not only about the guitar making process itself, but also about building supporting tools and jigs to do the job. The first one I felt the need to build myself was a mini-workbench to support my work. I didn't want to work on the kitchen table or on my computer table, so I decided I needed a workbench.
At first, I looked at ready-made alternatives and found some very interesting ones. There are small desktop-workbenches with a wooden vise connected to it, there are even proper workbenches that wouldn't take much space and could fit on a corner. But none were exactly what I was looking for. Some were too big, some were too small, some were too expensive. After this first research, I consider the option to build one myself, customised to my own needs and space. I looked online for some inspiration and after watching a few YouTube videos, I felt I could build one myself, and that this would be a good first project to start creating some woodworking skills and also get familiar with some tools I haven't used before.
At first, I looked at ready-made alternatives and found some very interesting ones. There are small desktop-workbenches with a wooden vise connected to it, there are even proper workbenches that wouldn't take much space and could fit on a corner. But none were exactly what I was looking for. Some were too big, some were too small, some were too expensive. After this first research, I consider the option to build one myself, customised to my own needs and space. I looked online for some inspiration and after watching a few YouTube videos, I felt I could build one myself, and that this would be a good first project to start creating some woodworking skills and also get familiar with some tools I haven't used before.
The Plan
I drew a few sketches on paper of how I'd like the workbench to be. Considering that I wanted it to be portable enough so I can move it around, and also sized properly so that it would offer enough space to do most of the guitar making work and at the same time fit on different table I have here at home and be easily stored behind a door space I have here.
With these constraints in mind, I had help from my wife which is experienced with Sketchup and got a crash course on it. With this new skill, I managed to create a project for the table.
Here are the sketches I did:
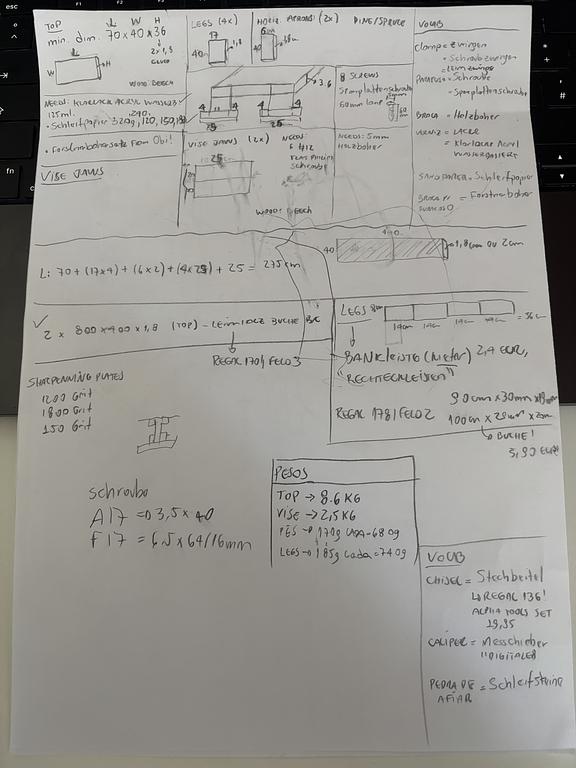 Sketch one
Sorry about the mess, but, well, it is a sketch and a working material, so, I didn't care to make it beautiful. Also, you may noticed three languages in the sketch, "English", "German", and "Portuguese".
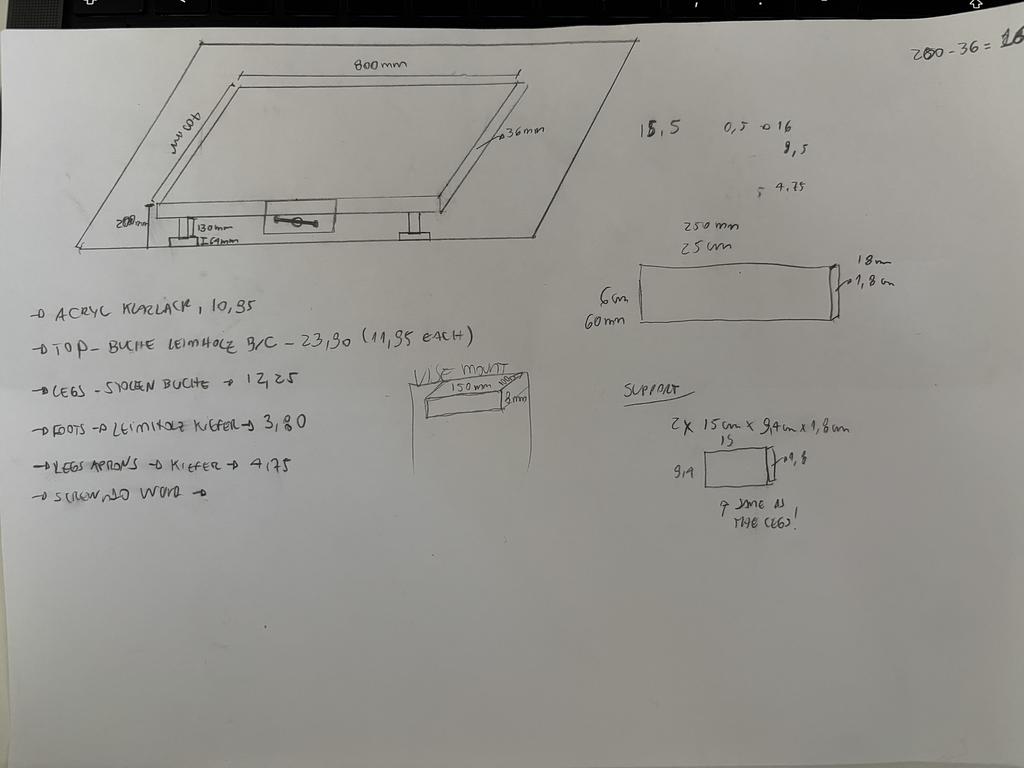 Sketch Two
Here's how the SketchUp project looked like:
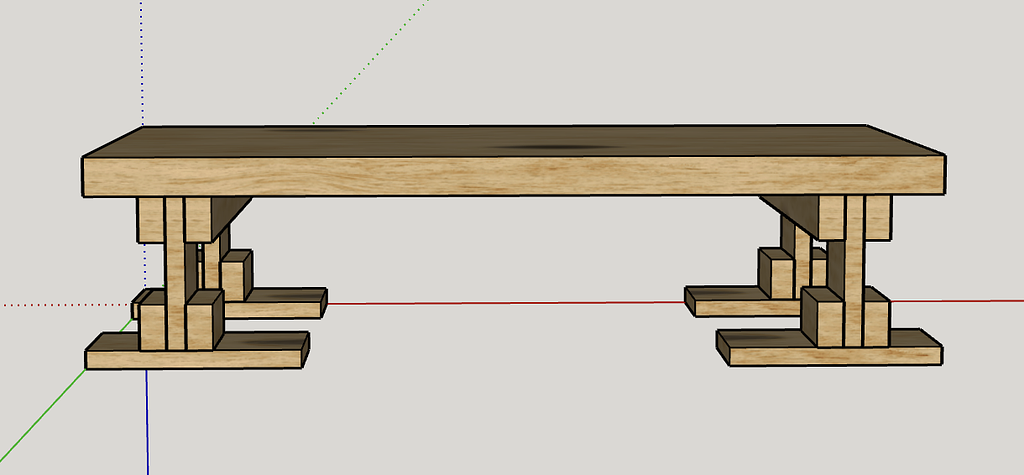 Sketchup project of the portable workbench
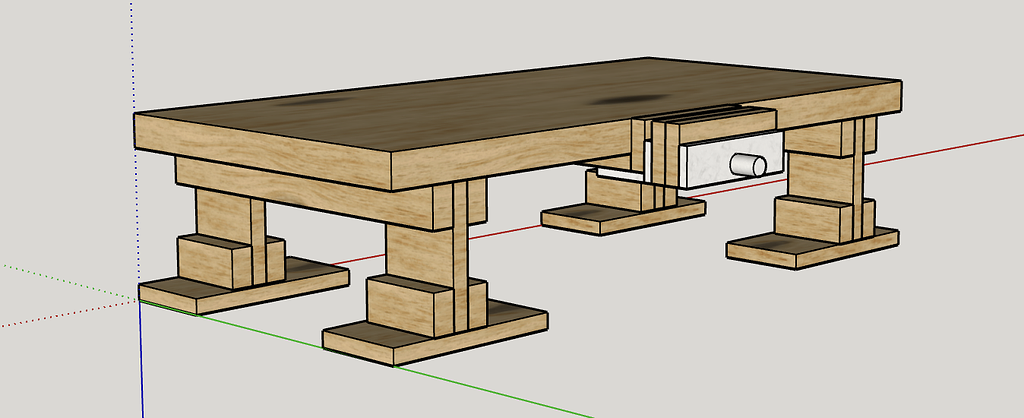 View with a mockup of how the vise would be installed on the table
Sourcing the Materials
With the plan phase done, it was time to find the wood to build it. When doing the plans, I more or less already adapted it for the types and standard sizes of wood I could find on nearby construction markets.
The Top
For the top, I used two pre-cut plates of Beech wood (Buche in German) of 800x600x18mm. This matched perfectly what I needed in terms of works space on for the table top and glueing two plates would give me enough thickness as well, 36mm in total.
Here's how the plates looked like when I bought them:
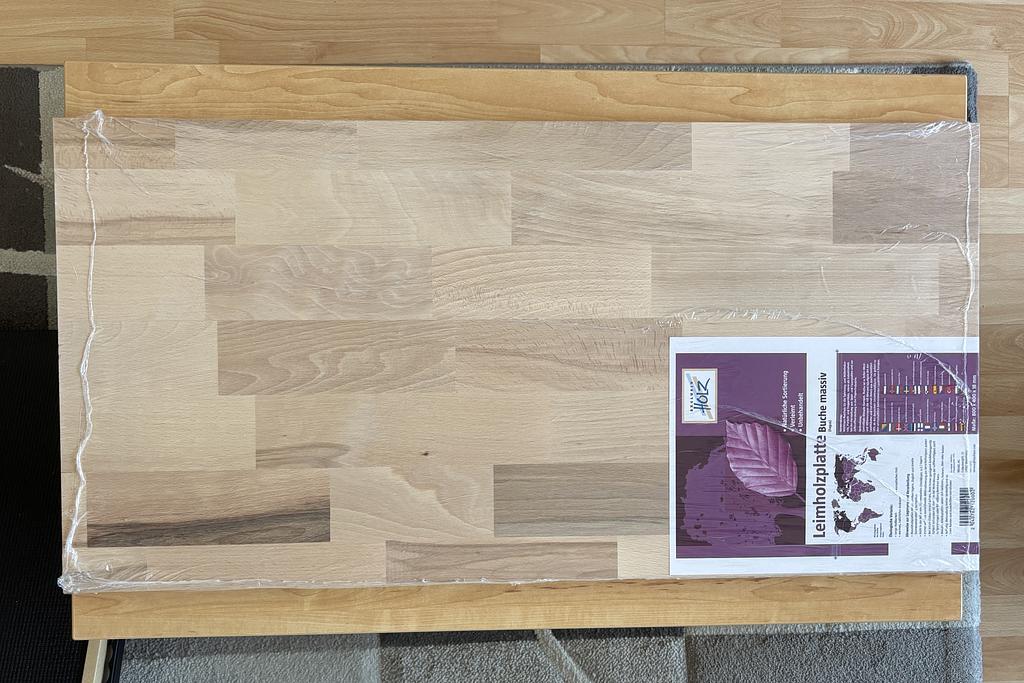 Pre-cut beech wood plates for the top
The Table Legs
For the legs, I used two types of wood. Beech and Pine wood. I also bought pre-cuts from the market so that the only saw job I'd have to do was to cut them to the correct length.
Here's how they looked like (image showing short pieces as they came in pieces of 2 meters long each):
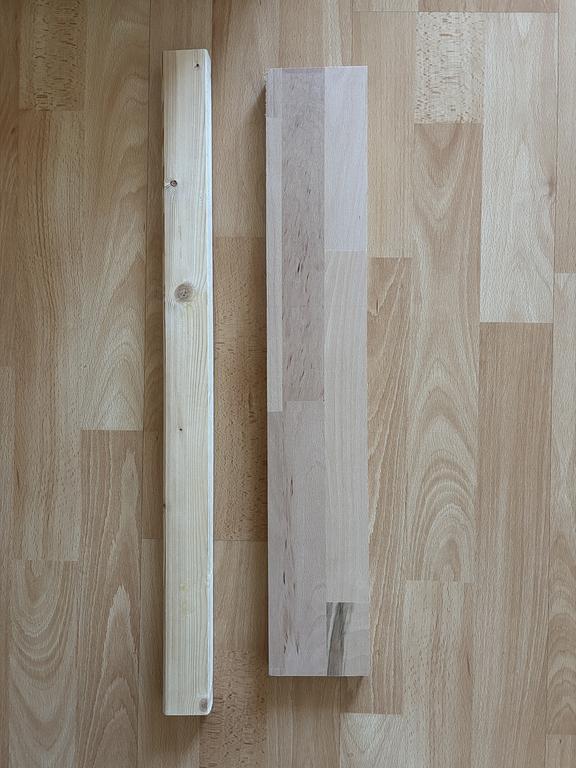 Wood for the legs.
The beech plank is 97mm wide, and 18mm thick. The Pine wood is 43mm wide and 23mm thick. Additional to these two, I also bought a pine wood plate for the feet for which I don't have a picture from. Its dimensions were 200mm wide and 19mm thick.
The Vise
I decided to buy a cast iron vise that would do the job and would not be too expensive or heavy. After some research, I settled on the Irwin Record 6inch vise for woodworking. This vise is not super heavy, meaning it wouldn't add too much weight to the final build and it is more than enough to do the jobs I need to for the making of the guitar.
The vise was actually one of the first things I bought, because I needed to know its dimensions in order to create the project properly.
Here's how it looks:
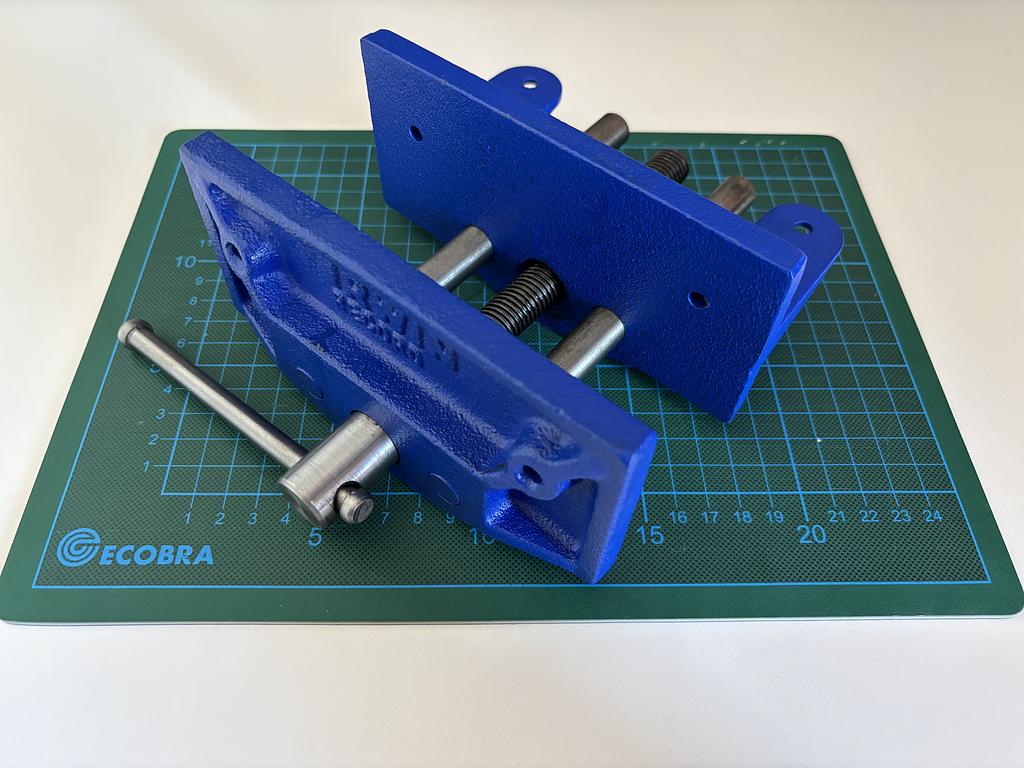 Irwin Record 6inches woodworking vise
Let The Build Begins
I started the build by gluing the two top plates together. Nothing complex about this part. The tops were already pretty flat, so, I didn't need to flatten them, I'll I did was to add glue to one of the pieces and clamp them together. Job done.
Next, I concentrate on building the legs and aprons that together provide the table support. This job was one that took me a few weeks to complete.
The most difficult part was to saw the pieces to the correct length with relative straightness. Still, in all pieces I had to plan them with a planer. Tough job! To do that on end grain direction and on smaller pieces, it was not easy. But in the end, I've got a satisfactory result (far from perfect, but good enough).
I also took a lot of care to make sure the measures of all four legs were as close as possible so that any small difference could be later removed by planning the top of the legs at the apron level. In the end, very minimal amount of material was removed to make them equal.
Having the fours leg sets prepared, including the side reinforcements, which I added with the idea of trying to counterbalance the forward/backward movement that will be put on the legs when using the vise for instance. Those side reinforcements are there for that purpose as the middle part of the leg was not that thick (only 18mm). Additional to that, I also added a foot to each leg, aiming to give even more support and stability to the workbench when sitting on top of another flat surface.
Here's a few pictures of the leg building process:
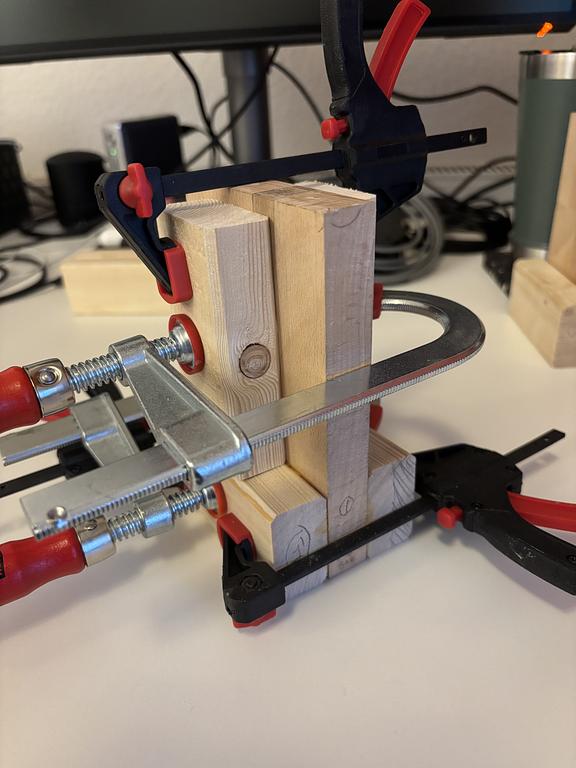 Glueing the Side Reinforcements to the Leg
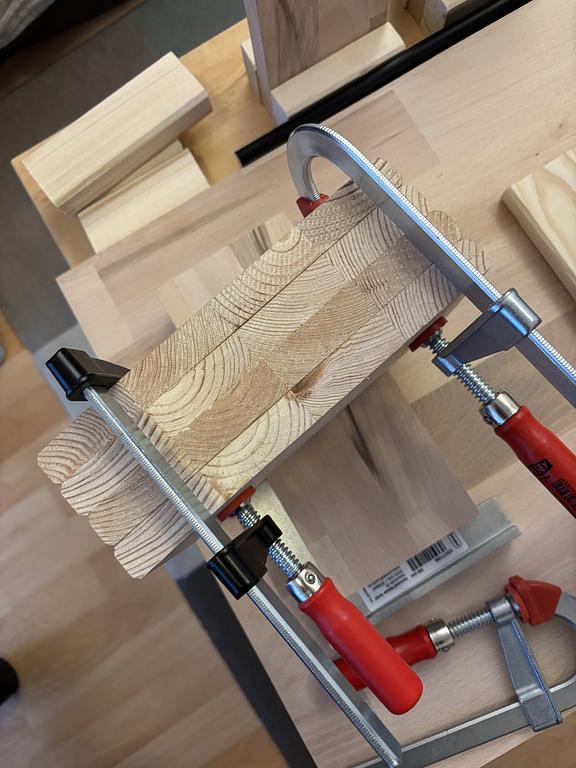 Clamping the feet to try to get them as straight as possible
Since the feet were cut from the pine board, they are not super straight. First I clamped them together and left like that for a few days while I was working on other parts. After that, I just had to plan the faces a bit to make them flat. The job was easier this way. I did the same with the aprons.
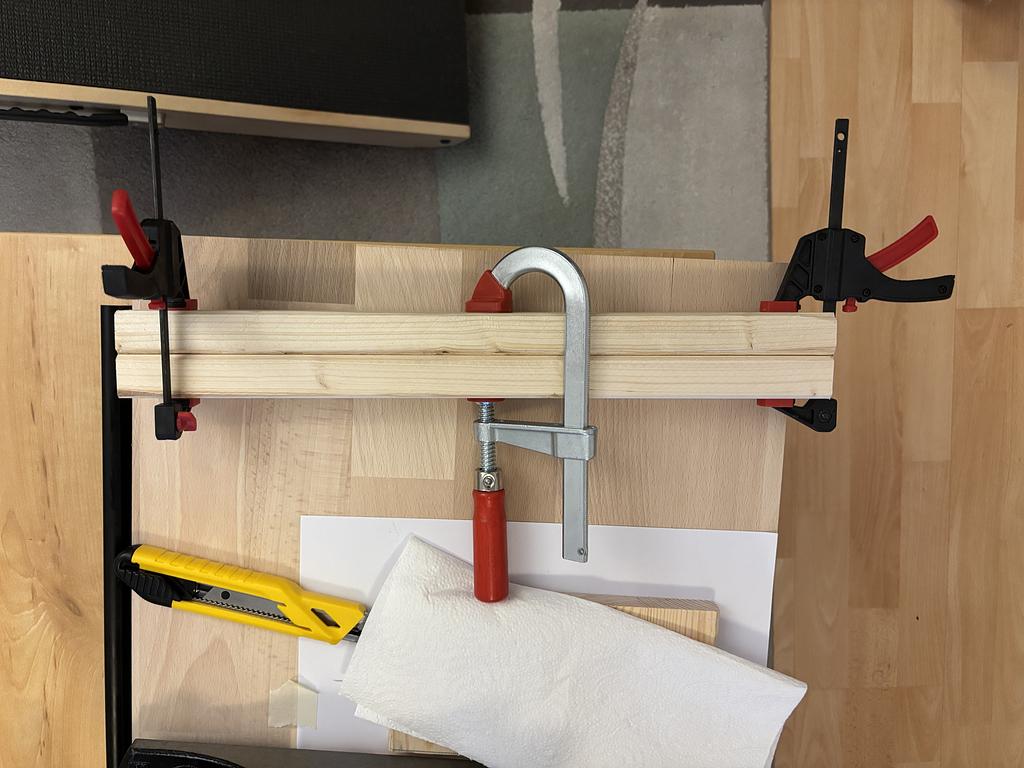 Clamping the aprons together to get them as straight as possible
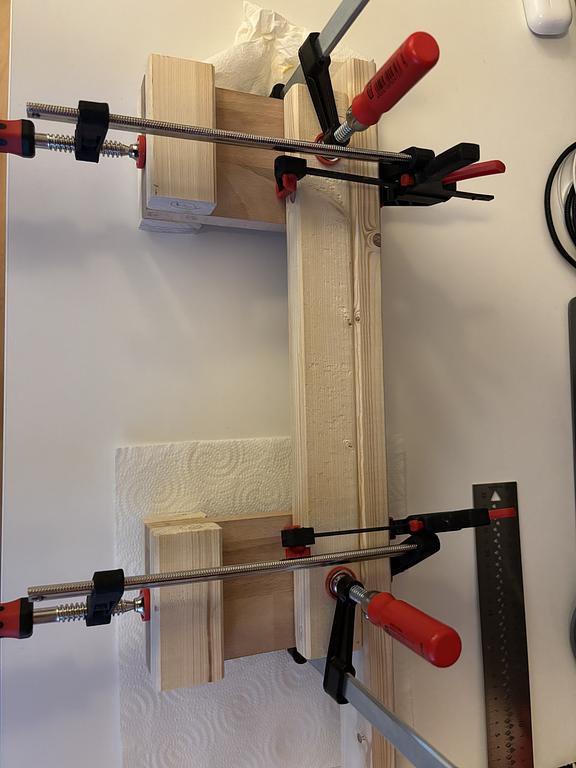 Glueing the one of the two aprons to the legs
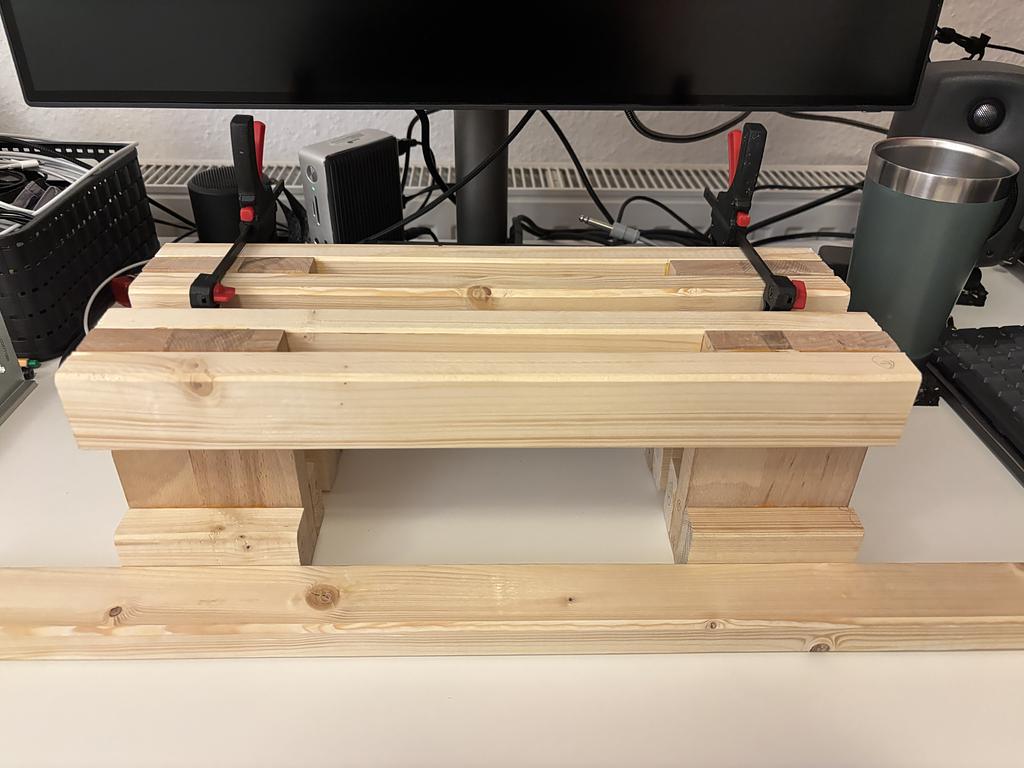 The two bases glued and ready for the final levelling
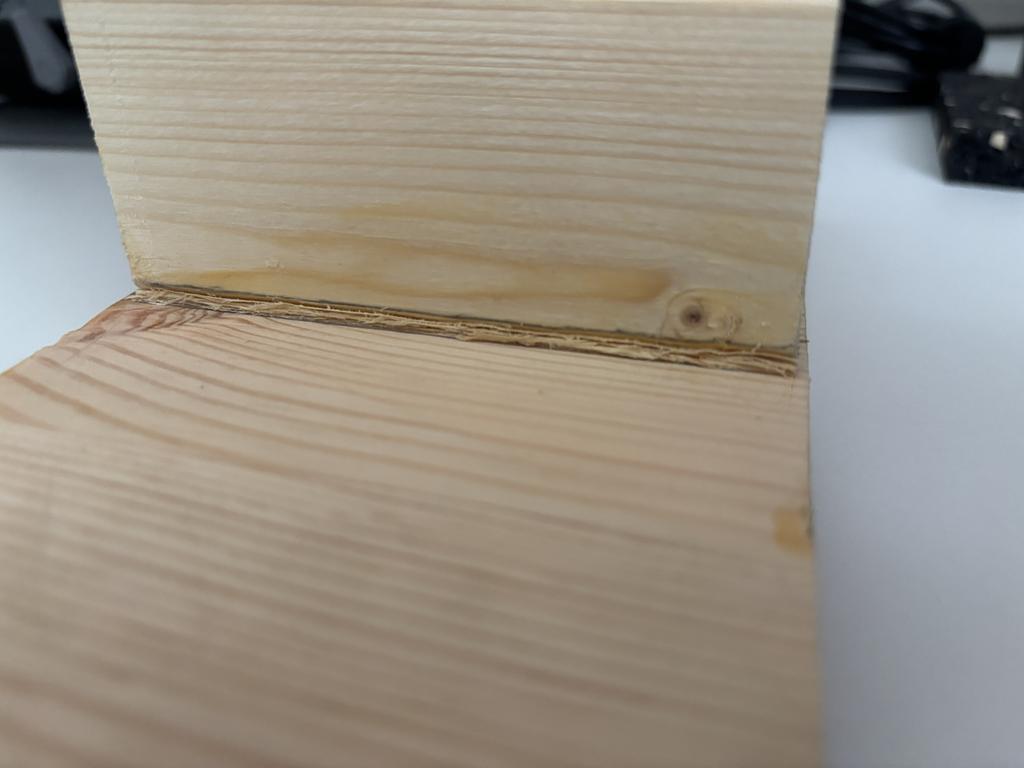
There was one major problem I had to solve. One of the side reinforcements of the legs moved during the glueing process and a gap formed at the base of the leg.
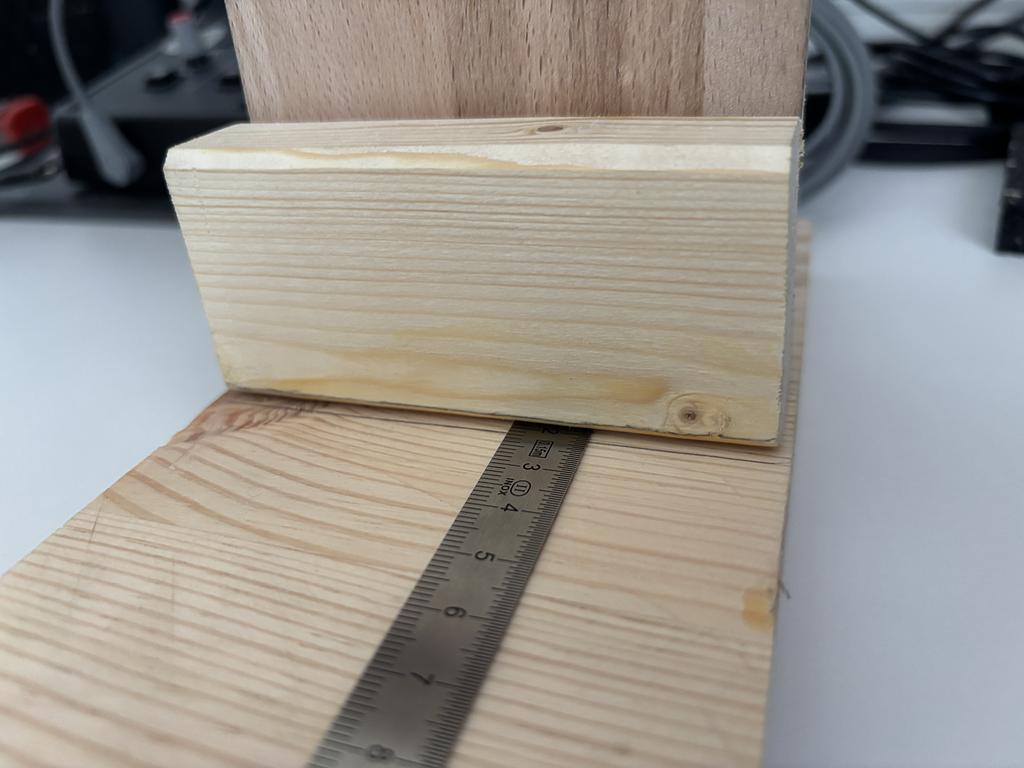 A considerable gap that would not give the support that was initially planned
I ended up solving that in a way that I'm not sure if it is the correct one or the best one, but it is the one I came up with. So, it is the right or for me.
I glued some shavings from the planning job together. Using a few layers of shavings I manage to get something that would fill the gap. Since the shavings are wood, I believe that when dried, they would provide the desired support needed for the gap.
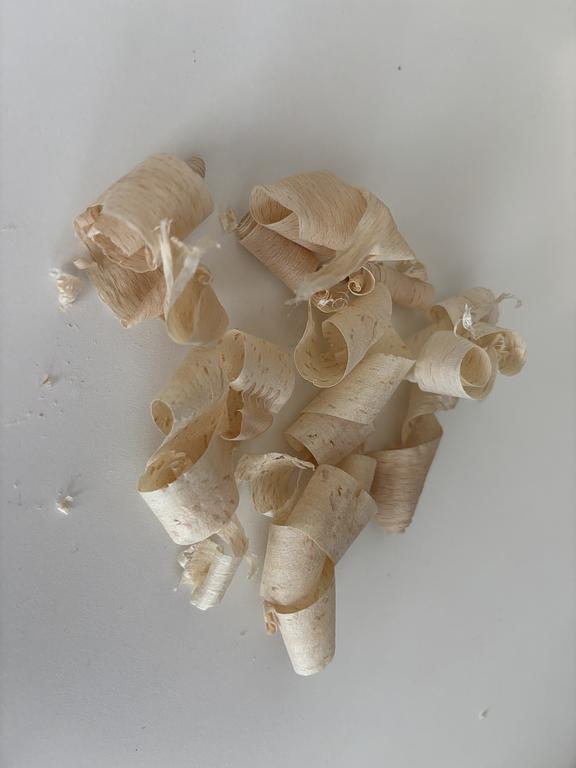
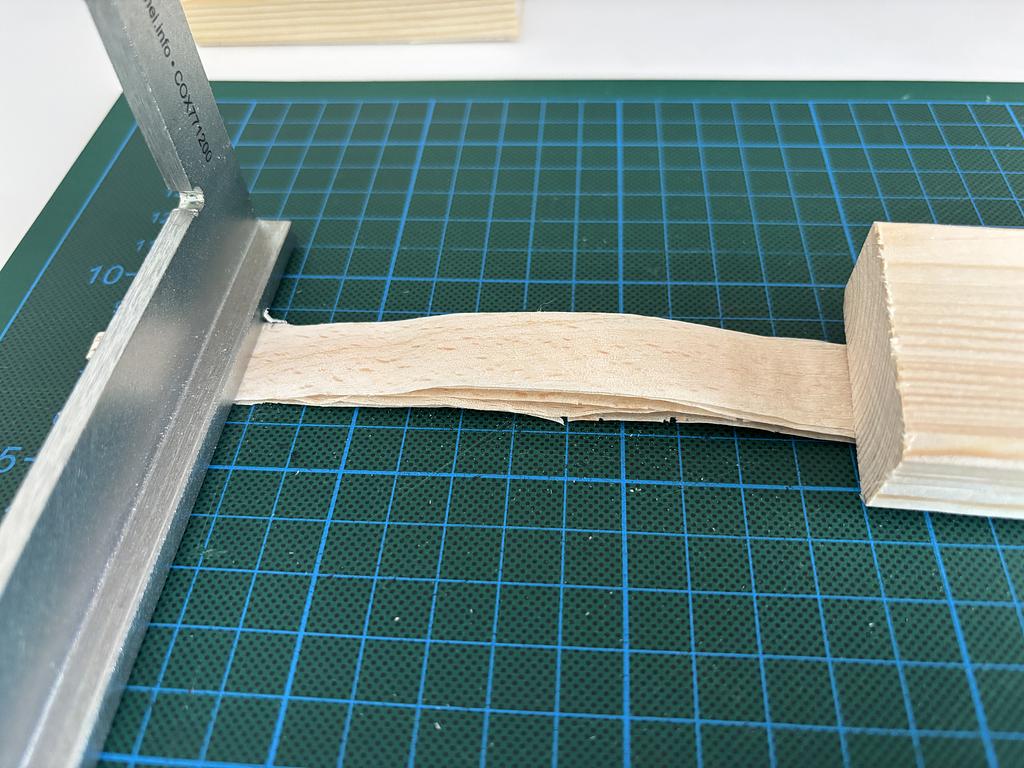
Finally, after making both bases as flat as possible, I measured and glued the table-top bottom fit, what would fit into the base, drill the holes and screw the parts together.
For the connection between the top and the bases, I used a bolted screw, so that I can easily remove the top from the legs if needed.
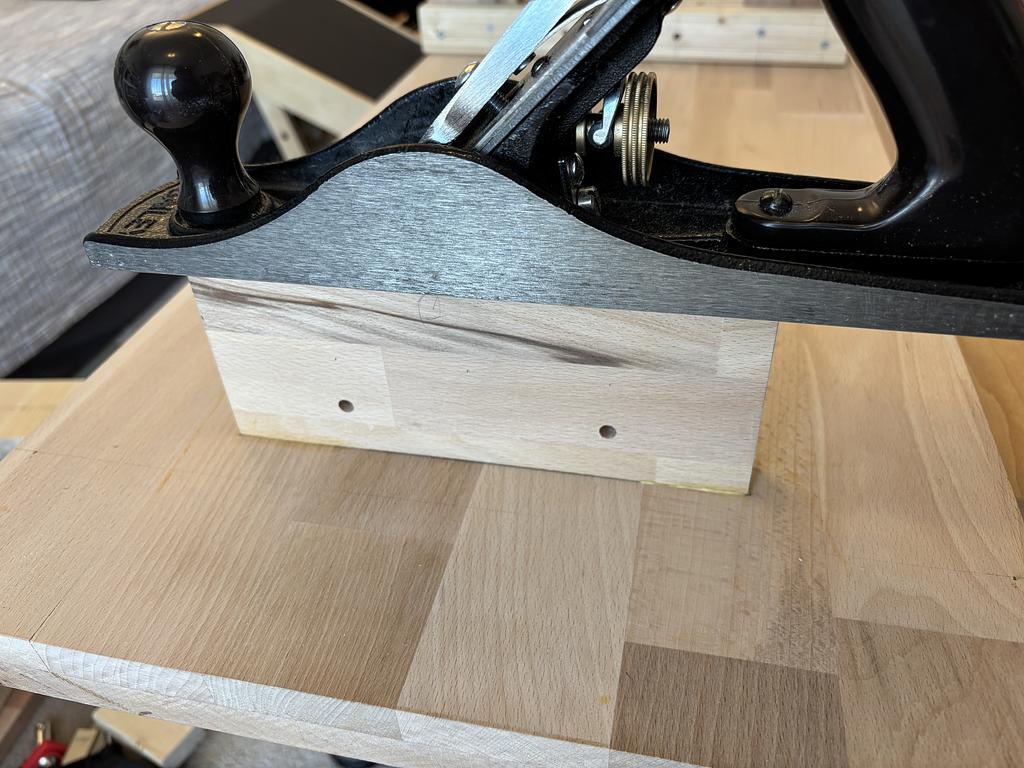 Glueing the table-top bottom fits
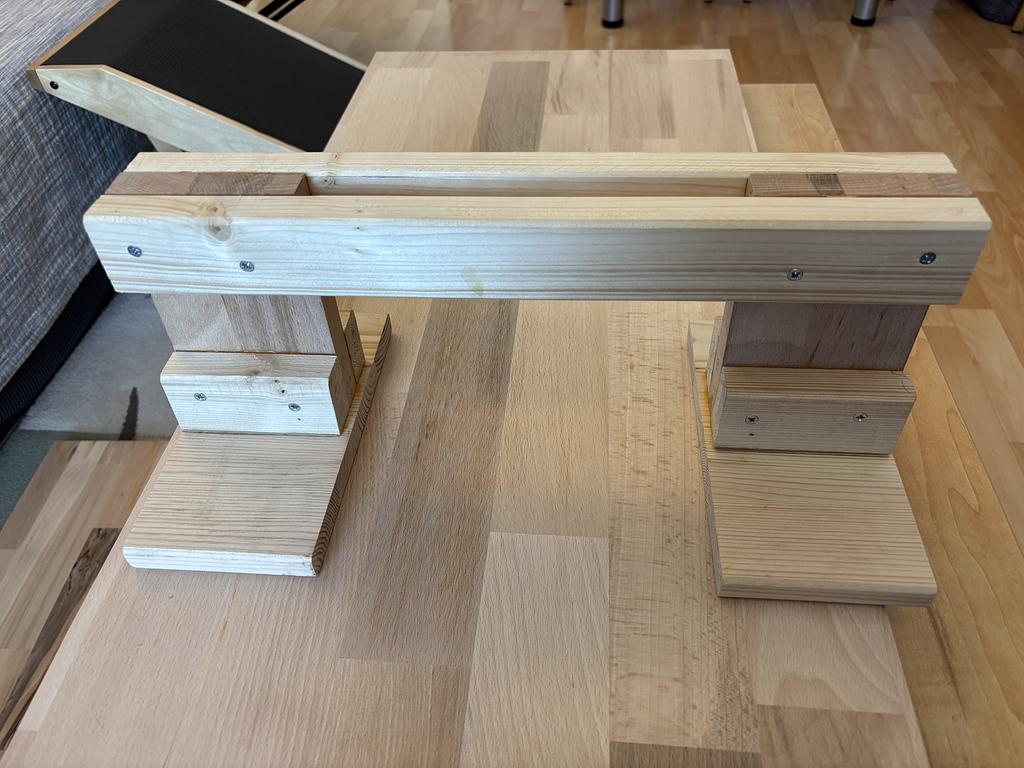 Securing the parts with screws
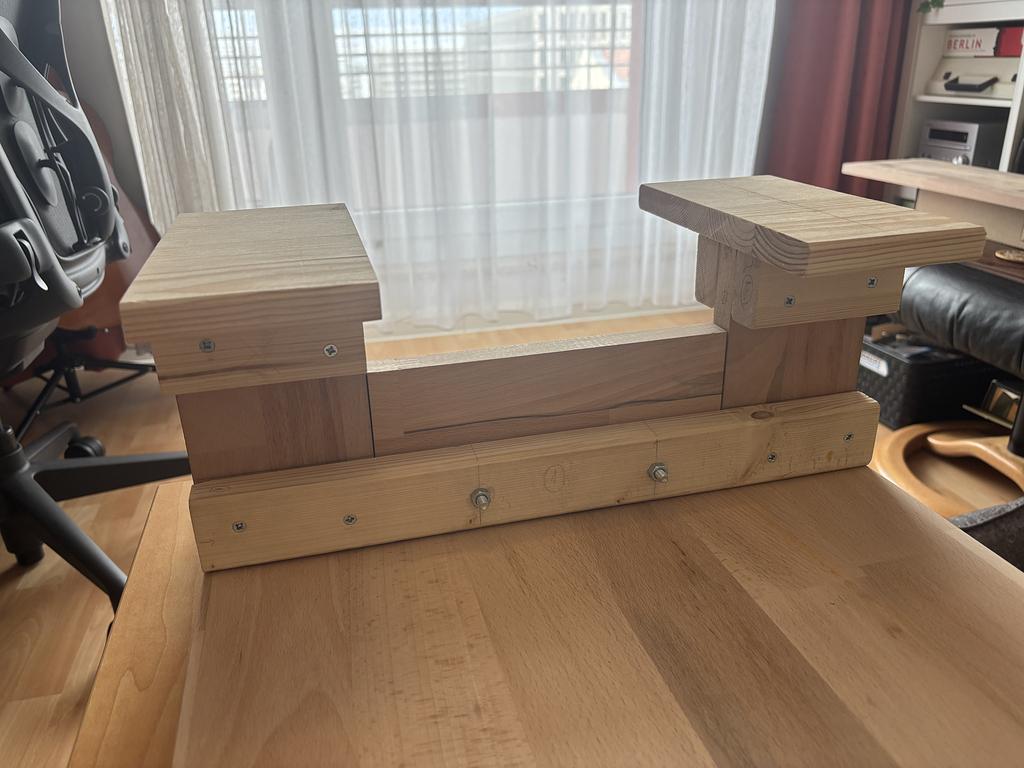 Connecting the top and the base
Now, with all the connections done, the last step on this phase was to add some lacker to the top in order to make it a bit prettier but also try to make it more water resistant.
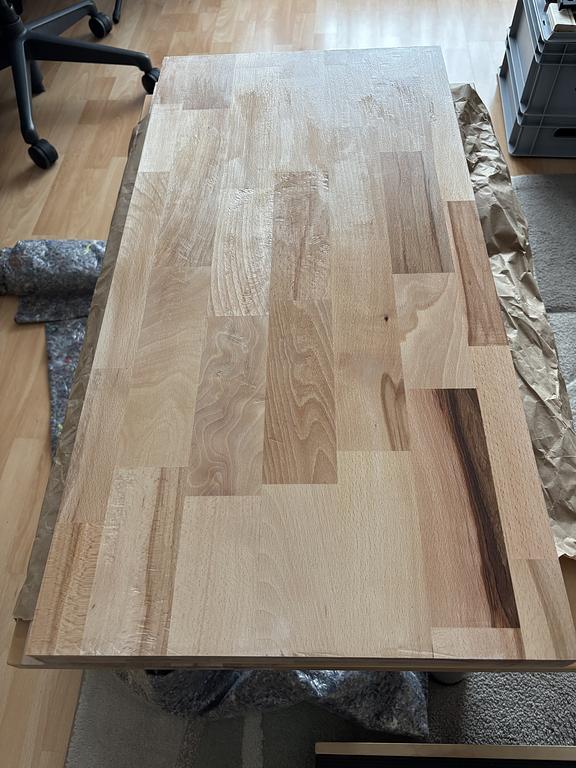
Next, the final step was to add the vise to the table. For that, I added a 6mm plywood reinforcements to make the connections stronger and more secure - well, that's at least what I think I did.
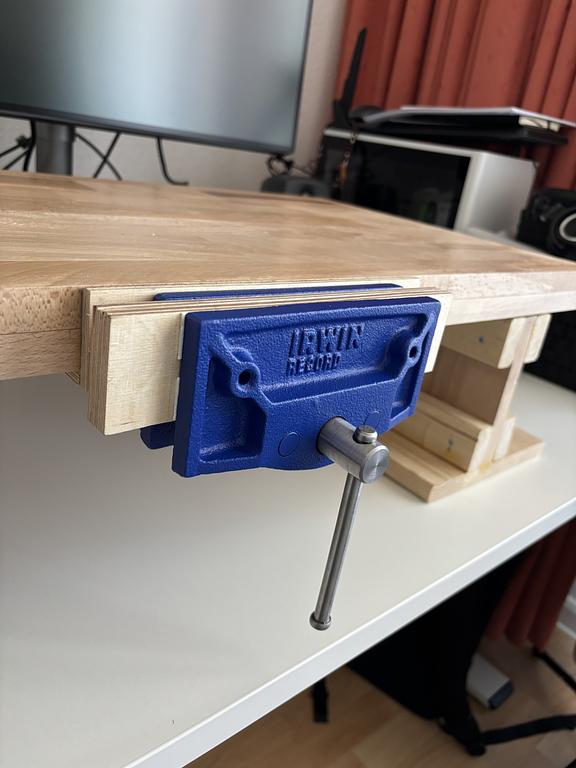 The Vise attached to the table
Final Result
And that concludes a month of work. Here's the final result. The workbench I'll be using to support the making of my first classical guitar.
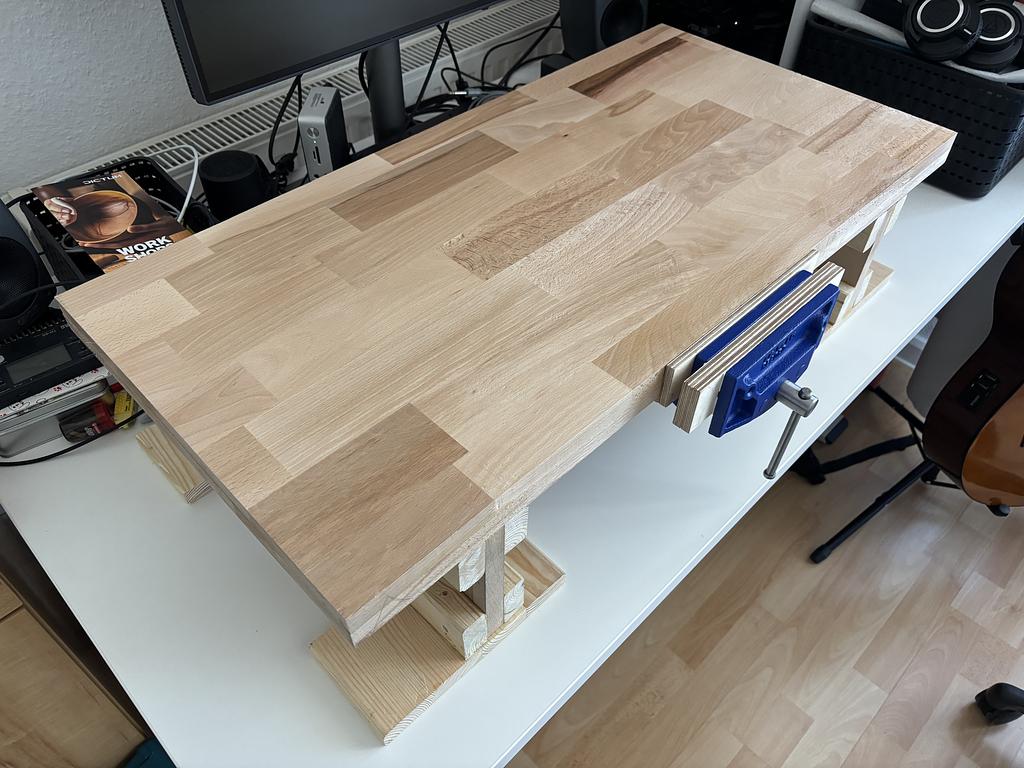 The final workbench assembly
Now, I need to work on it for a while and see how it goes. I'll create a new post once I have done some work on it to either confirm or deny that this project was a good idea. In case you want more details, feel free to reach out.