Journal
Building A Shooting Board
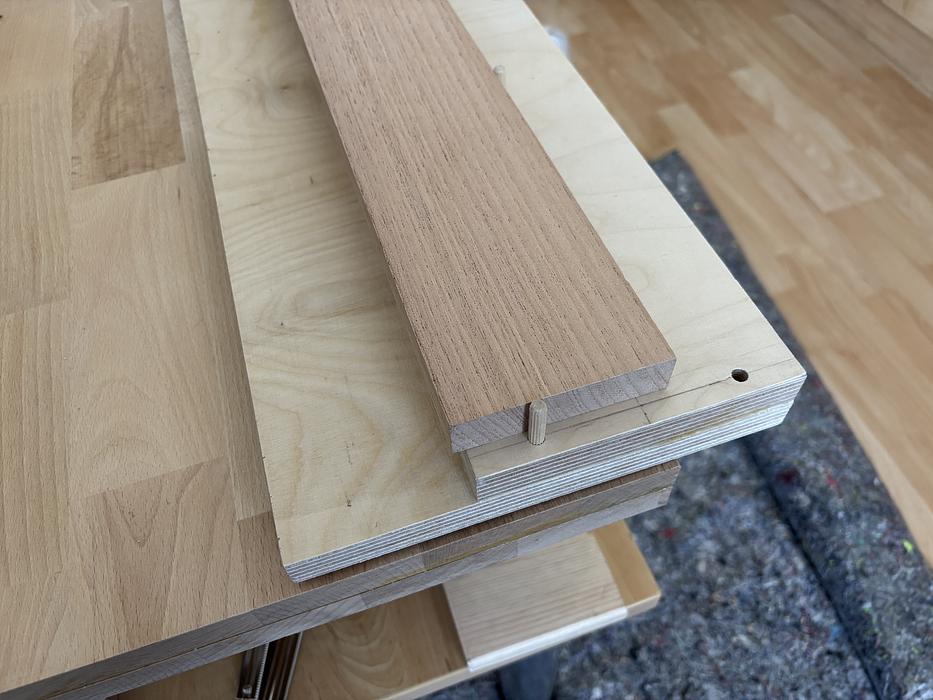
One of the jigs I see woodworkers using very often is a Shooting Board. This device is super helpful to prepare stock in order to flat surfaces or adjust piece sizes. I knew that I'd need one for my guitar building project, however, I needed one that would fit my needs, space available, and my workbench size.
The material I used was 18mm Birch Plywood, which I decided to buy pre-cut instead of cutting it myself at home. I chose this option because it would be economically better - the price of an entire sheet of plywood were more expensive than the cuts I needed -, and it would be more precise, meaning that I would have less work during assembly.
Here in Germany, there are a couple of companies where you can order these custom cuts on-line, that is a very nice option to have. I ordered for my build, 2 pieces of 18mm plywood. One for the base, with 800x200mm, and another for the top with 800x130mm.
Here how the cuts were delivered:
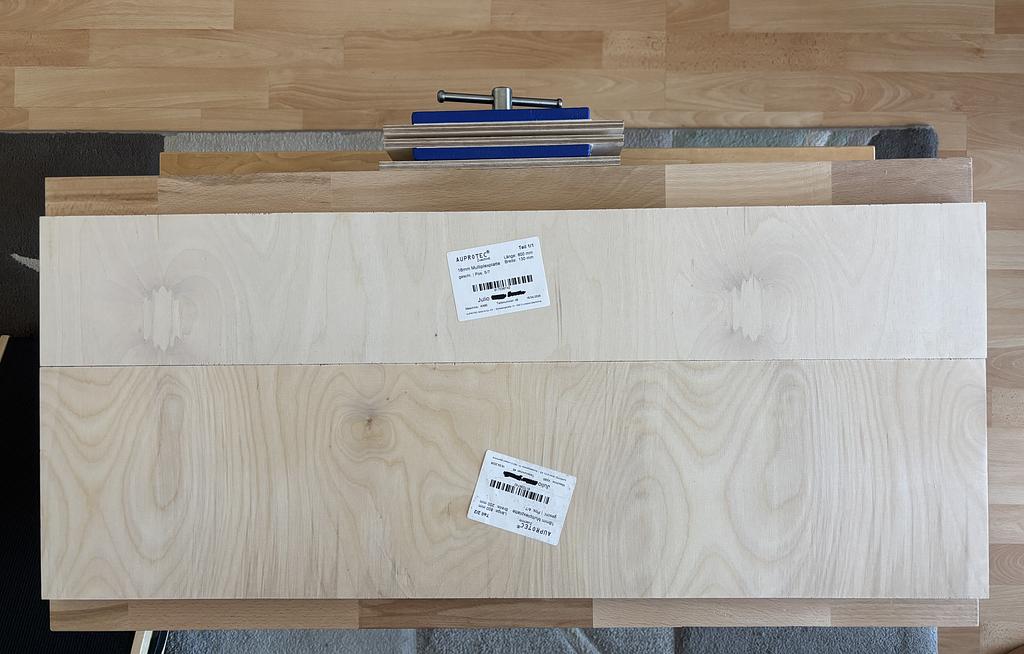
The quality of the pieces were very satisfactory. The only work I did was to plane the front side of the top piece, just to get it a bit smoother and ensure squareness. Other than that, I just used the pieces as they came.
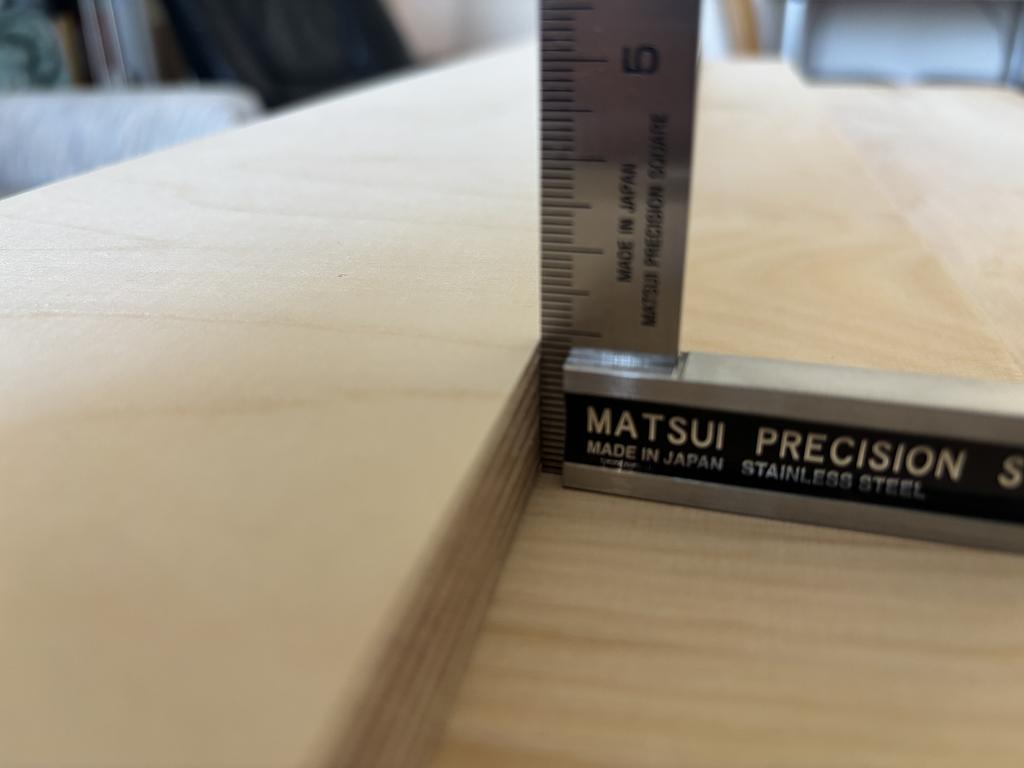
Next, I glued the pieces together, let them dry for a couple of hours and added some screws to the bottom aiming to reduce the wood movement over time. I saw this approach on a YouTube video. I'm not sure if it is effective or not, but I thought it was worth trying.
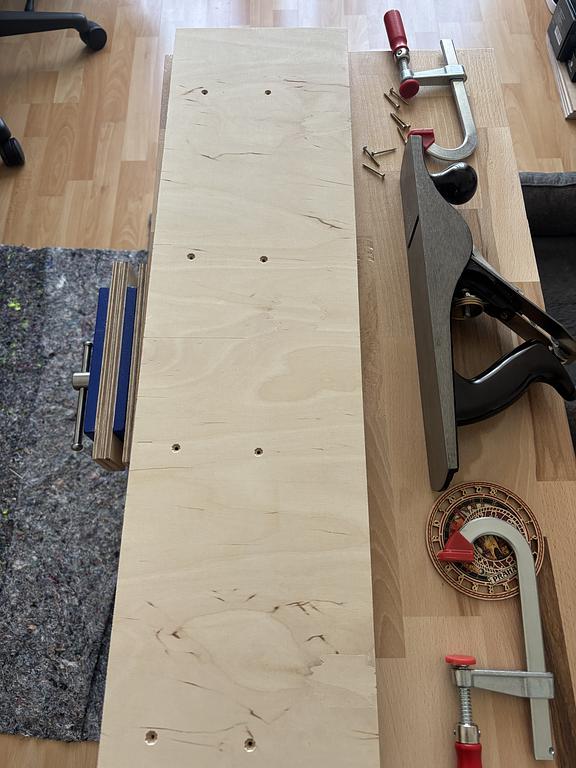
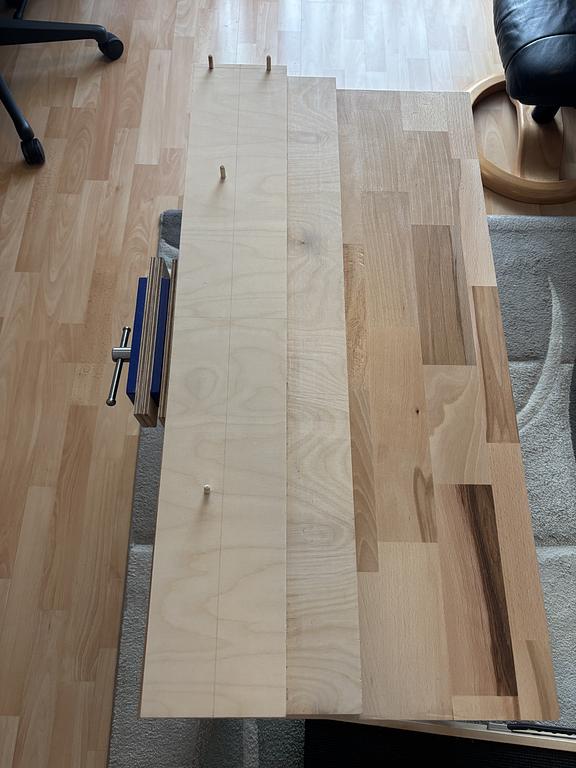
Next, I thought about the how to make the stops on the top. Initially I thought about glueing some pieces of wood on top of it, but soon I realised this would reduce a lot the versatility of the jig. I ended up using some of these wood pegs for furniture joints of 6mm. I added some to the end of the shooting board, and some along it. The placement of the stops and the holes was measured to accommodate the neck plank on a 75mm width, making this job then already easier later on.
Here's the shooting board with the stops:
And here is how the neck fits when placed with the stops:
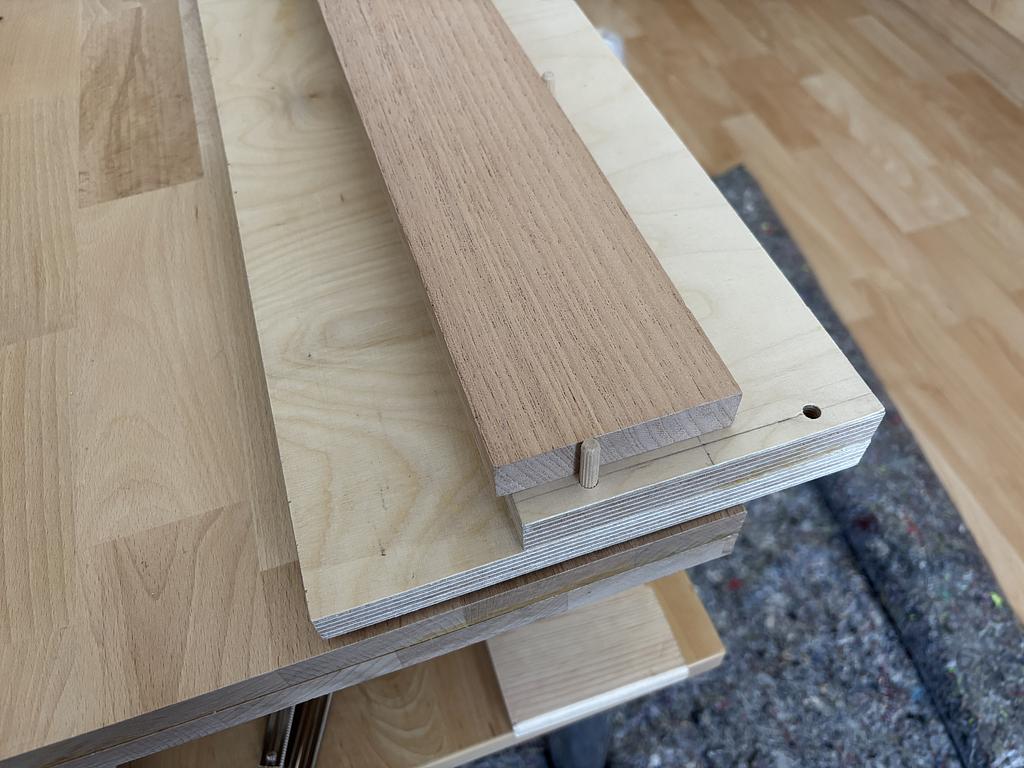
The nice thing about this approach is that I can remove these pegs and have a flat surface on the top that I can use. Also, if needed, I can drew a few more holes according to my needs and add more stops. (I won't call them dog holes as I'm not using them for clamping).
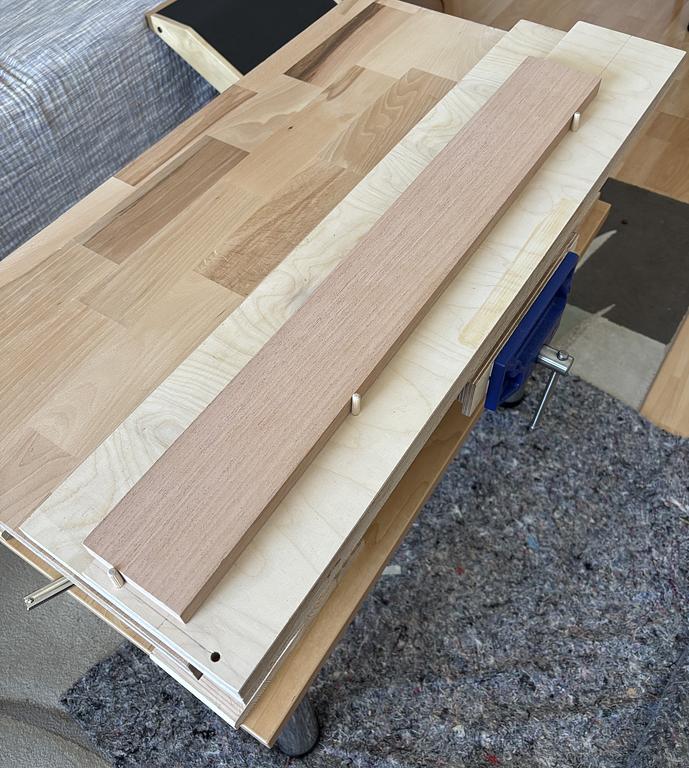
Now, the final job was to glue to the base the pice that will be used to clamp the shooting board on the vise. I measured the centre of the shooting board and the support and glued them together, ensuring that the support would be perpendicular to the base (very important).
And that completed the work on the assembly of building of the shooting board. Now, I'm looking forward to use it for the next tasks on preparing the neck.
P.S: See that glue mark on the top? I almost glued the base on the wrong side! Ops! :) But I managed to fix it and the shooting board was saved!!
The material I used was 18mm Birch Plywood, which I decided to buy pre-cut instead of cutting it myself at home. I chose this option because it would be economically better - the price of an entire sheet of plywood were more expensive than the cuts I needed -, and it would be more precise, meaning that I would have less work during assembly.
Here in Germany, there are a couple of companies where you can order these custom cuts on-line, that is a very nice option to have. I ordered for my build, 2 pieces of 18mm plywood. One for the base, with 800x200mm, and another for the top with 800x130mm.
Here how the cuts were delivered:
The quality of the pieces were very satisfactory. The only work I did was to plane the front side of the top piece, just to get it a bit smoother and ensure squareness. Other than that, I just used the pieces as they came.
Next, I glued the pieces together, let them dry for a couple of hours and added some screws to the bottom aiming to reduce the wood movement over time. I saw this approach on a YouTube video. I'm not sure if it is effective or not, but I thought it was worth trying.
Next, I thought about the how to make the stops on the top. Initially I thought about glueing some pieces of wood on top of it, but soon I realised this would reduce a lot the versatility of the jig. I ended up using some of these wood pegs for furniture joints of 6mm. I added some to the end of the shooting board, and some along it. The placement of the stops and the holes was measured to accommodate the neck plank on a 75mm width, making this job then already easier later on.
Here's the shooting board with the stops:
And here is how the neck fits when placed with the stops:
The nice thing about this approach is that I can remove these pegs and have a flat surface on the top that I can use. Also, if needed, I can drew a few more holes according to my needs and add more stops. (I won't call them dog holes as I'm not using them for clamping).
Now, the final job was to glue to the base the pice that will be used to clamp the shooting board on the vise. I measured the centre of the shooting board and the support and glued them together, ensuring that the support would be perpendicular to the base (very important).
And that completed the work on the assembly of building of the shooting board. Now, I'm looking forward to use it for the next tasks on preparing the neck.
P.S: See that glue mark on the top? I almost glued the base on the wrong side! Ops! :) But I managed to fix it and the shooting board was saved!!